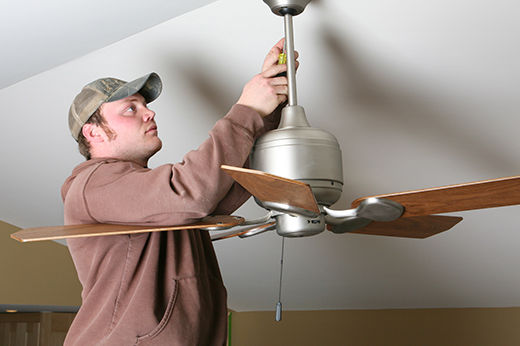
Step 4: Attach New Light Fixture
In most cases, you should be able to install the new light fixture in the same way that the old one was attached. If not, follow the manufacturer’s instructions and use the supplied parts that come with the new light fixture. Place the light fixture up to the junction box in the hole and check by sight that everything will fit correctly.
Helpful Tip
Keep a power drill handy, in case you do have to drill new starter holes for any mounting screws to attach the new light fixture. Measure before you drill and mark the screw locations on the wall with pencil to make sure you drill in the right locations.
You should have at least a ½” to ¾” of bare wire on each wire end, on both the light fixture and the circuit. If you don’t, use wire strippers to remove the wire sheathing, or insulation, so that you have enough bare wire to twist two wire ends together. Connect the light fixture wires: black or red (hot), white (neutral) and ground (usually plain copper wire or green-insulated wire) to the corresponding circuit wires, in that order. Note: Follow manufacturer’s directions closely in case the light fixture requires different connections. Twist them together clockwise and then cap each connection with a wire nut. If the circuit wire does not have a ground wire, just cap off the light fixture ground wire and push it into the hole with the other connections or connect the light fixture ground somewhere on the junction box (if it is metal).
After all the connections have been made, install the new light fixture as shown by the manufacturer’s instructions. Usually, it’s a matter of simply screwing it to the junction box or wall, depending on the fixture.
Step 5: Finish Up
Once the light fixture is attached and installed correctly, screw in a bulb or bulbs and restore power to the room. Turn the light on. If the light comes on, you’ve connected all the wiring correctly and you’re done. If it doesn’t light up, turn off power and check the connections to see if something is loose or not connected properly.
Good work! Your rooms should now shine with new light and charm.
Project Shopping List
Here’s what you’ll need to complete this project successfully.