
A bird feeder is a great addition to your backyard that your entire family (and your feathered friends) can enjoy. There are many types of bird feeders and various ways to build one. This project covers how to build two styles of feeders: One is a wooden feeder that requires some basic woodworking skills; the other is a more improvised design that is a bit easier to complete, and is an effective way to attract birds.
How to Make a Bird Feeder (Easy & Advanced Projects)

How to Make a Simple Bird Feeder from a Plastic Bottle

There are many ways to quickly and easily make an effective bird feeder out of regular household items. Here’s how to make a bird feeder out of a used 2-liter soda bottle:
Step 1: Prepare the Bottle
Empty a 2-liter bottle and wash it thoroughly. Remove the label but don’t throw away the cap.
Step 2: Cut Holes
With a utility knife or scissors, cut two square holes about 3″ from the bottom on each side, large enough for a bird to reach the seeds that will eventually be inside.
Step 3: Create a Perch
Using a screwdriver, awl or hole-punch, create a small hole underneath each of the larger holes you just made. Insert a small wooden dowel in each hole to create a perch for birds to sit upon when snacking.
Step 4: Fill the Bottle
Use a funnel to pour bird seed or sunflower seeds into the top of the bottle. Fill up the bottle to the level of the bottom edge of the feeding holes. Screw on the cap.
Step 5: String it Up
Tie a length of string below the lip of the bottle below the cap. Make sure it’s secure. You don’t want the string to slip off or come untied. Tie the other end of the string around a tree branch, an awning or from a similar elevated position.
How to Build a Wooden Bird Feeder

Step 1: Choose a Location
Where you put your bird feeder is just as important as the materials you use. Place the feeder outside a window or somewhere you can enjoy it from inside your home. Make sure the feeder is high enough from the ground (at least 6 feet tall) and far enough from any other structures (about 10 to 20 feet) to keep cats and squirrels from jumping onto the feeder.
Placing the feeder on a free-standing post in the middle of an open space in your yard is ideal. If you can, keep the feeder close enough to the bushes or trees to provide cover for the birds and a place to escape in case of predators or competing species.
Step 2: Choose Your Wood
Use treated wood, teak or cedar to build your bird feeder. These woods are ideal because of their resistance to the elements and pest infestation.
Step 3: Start Cutting
There are several types and styles of bird feeders you can build. This project describes how to build a simple bird feeder that resembles a small house with a hinged roof, that tapers slightly at the bottom, similar to the one shown here. Begin by cutting end panels from your boards using a table saw. Cut each piece so that the panel width tapers toward the base from 5″ at its widest to 3½” at the bottom. The panels should be cut to be 7½” in length, with the tops cut at a 90-degree angle so that they are “pointed” like a triangle.
Create grooves in the outside edges of these panels by cutting into them ½” from the edges and at a ¼” depth. These grooves will fit the “windows” on the sides of the feeder.
Next, cut two pieces for the feeder’s roof. One piece will be 4½” x 9″ and the second will be 5½” x 9″ to form rectangular shaped slats. The feeder base should be cut at 5½” x 9″. Cut thin strips of wood to be ¼” x 1 ¼”. You will attach these along the outer edge of the base to create a lip that will keep birdseed on the feeder and allow the birds to perch.
Measure and cut two pieces of acrylic sheeting for the “windows.” These pieces will fit into the grooves you made in the end panels. Before making your cuts, remember to leave a space at the bottom of the acrylic pieces (about 1″) for the seed to spill out onto the shelf for the birds.
Step 4: Assemble
Piece together the sides and bottom of the bird feeder using wood glue and wood screws or nails. Save the roof pieces for last. Attach the strips you cut to form the lip along the base using a hammer and nails. Secure the post to the bottom of the feeder using a screwdriver and a 4″ wood screw.
Helpful Tip
To make the job easier, use a power drill to make small starter holes before fastening the screws.
Slide the acrylic pieces into the grooves you made on the end panels. Next, attach hinges to the smaller roof piece using a screwdriver. Make sure the hinges are placed evenly on the roof piece equidistant from each side. Attach the larger roof panel to the feeder using wood glue and nails. Attach the hinges of the small roof piece to the large roof piece by screwing them on. Check to see that the smaller roof piece will open and close freely on its hinges. This creates a lid that you open to fill the feeder with food.
Once the feeder is assembled, it’s time to put it up. Using a small spade or post-hole digger, dig a 1′ hole. Place the end of the post into the hole and then refill until the post is secure and upright.
Nice work. Now you and your family can sit back, relax and watch the birds flock to their new feeding destination in your backyard.
Project Shopping List
Here’s what you’ll need to complete this project successfully.
- Treated wood, teak or cedar boards
- Table saw
- Acrylic sheeting
- Wood glue
- Wood screws
- Nails
- Hammer
- Power drill
- Hinges
- Small spade
- Post-hole digger
- 2-liter bottle
- Utility knife
- Scissors
- Screwdriver
- Awl
- Hole-punch
- Wooden dowel
- Funnel
- Birdseed or sunflower seed
- String
Related Articles

How to Know Your USDA Plant Hardiness Zone
Knowing what gardening or plant hardiness zone you live in can help you choose what to plant in your garden. Check our planting zones map!
Learn more
How to Winterize a Lawn Mower: 6 Steps
If you want to know how to winterize your lawn mower, check out our new six steps guide! Learn all about lawn mower winterization, lawn mower storage and more.
Learn more
5 Tips to Winterize Your Home’s Exterior
Before the first frost hits follow these 5 tips to get your home exterior ready for the winter cold.
Learn more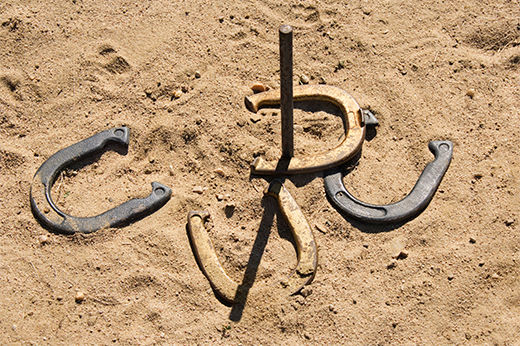
How to Build a Horseshoe Pit
6 Steps - Learn how to install a horseshoe pit in your backyard including how to build the frames, excavate the ground, and setting the stakes with this DIY guide from True Value.
Learn more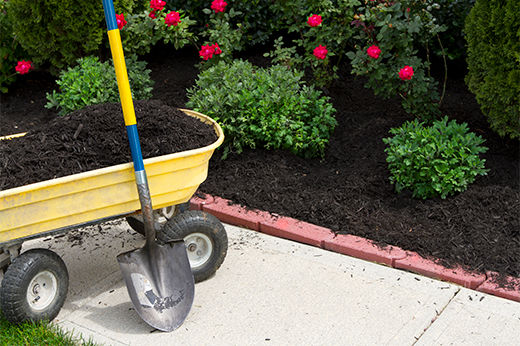
Garden Cart vs. Wheelbarrow: Which One to Buy for Your Garden
Transport heavy materials or equipment with ease using a wheelbarrow or cart. Discover the differences between them to pick the best one for you.
Learn more