
I live very close to my parents, so I pop over quite a bit during the week. Every time I go to their house I’m met with this wooden door in a brick/terracotta shade that has been like this for decades!
From Blah to Beautiful: My Front Door Paint Job
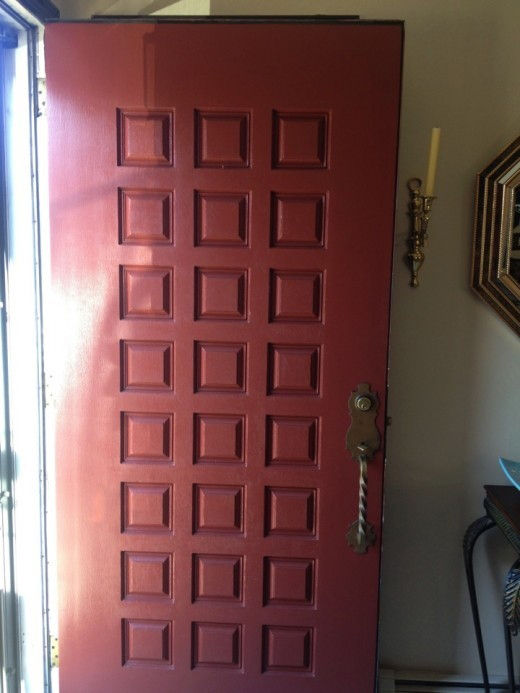
The color was just so blah, and since my parents have a mainly brick house the front door completely blended in. Now, painting a wooden door is a fairly simple project, but it can be time consuming when you have to remove it off the hinges, take off the hardware and prime the door. I decided to use a couple of little tricks to make the process go much faster and the finished product really made a huge difference – all in an afternoon project.
Supplies
- Quart of paint
- Paint brush (click here for tips on choosing the right brush)
- Petroleum jelly
- Cotton swabs
- Decorative hardware (such as a monogram or knocker)
- Door mat
How-to:
1.The most exciting part of a new job is the new color! My parents wanted something traditional with a little bit of a twist. Instead of going with a bold red, which is often the norm when homeowners decide to go outside of traditional white or black, we went with a poppy shade. A perfect combo of pink, orange and red.
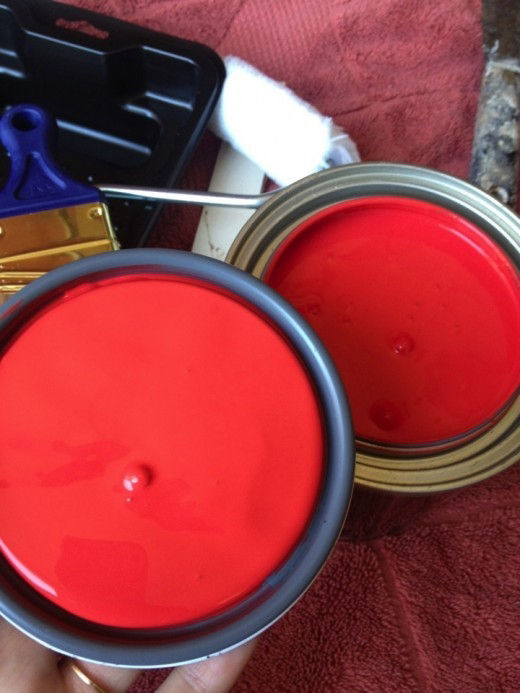
Since the shade we picked wasn’t completely opposite of what we were starting out with there was no need to prime the door. Also when picking out paint I made sure to pick out a paint with built in primer to still do it properly, but just skip a step.
2. Once the paint was picked out the next step was simply to start painting while the door was still mounted and hardware was still on.
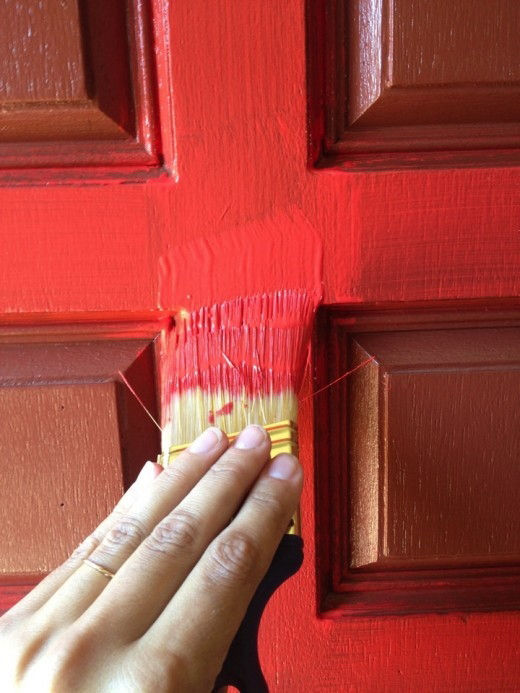
Because of the paint’s consistency (nice and thick instead of thin and runny), I was able to leave the door mounted and not get any drip marks. Additionally, I was able to leave the hardware on by running to my parents’ bathroom vanity and borrowing their petroleum jelly. If you apply petroleum jelly to hardware you don’t want to remove you can simply paint over it. When you are done, just wipe the paint with a paper towel and it will come right off!
3. I grabbed cotton swabs (another goody from the vanity) and applied the jelly directly onto the hardware.
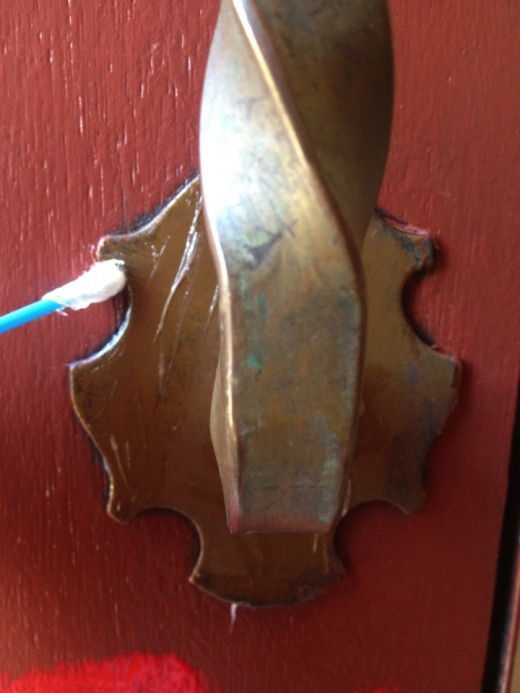
I tried to be careful anyway and not get any paint on the hardware, but I did get a little on it.
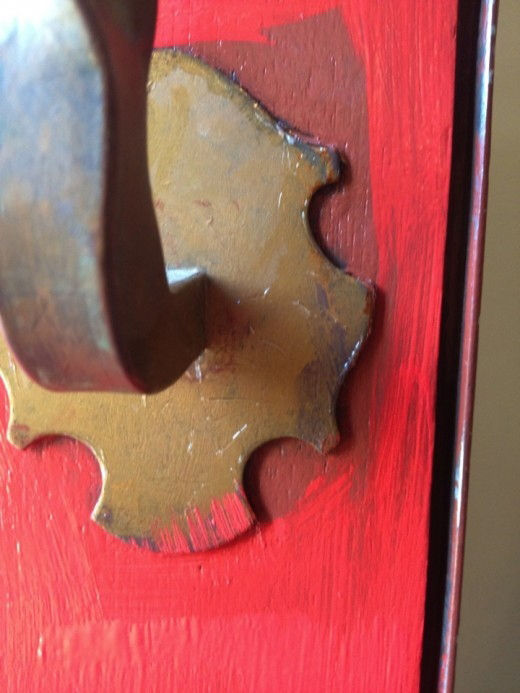
After a little wipe, the hardware ended up nice and clean:
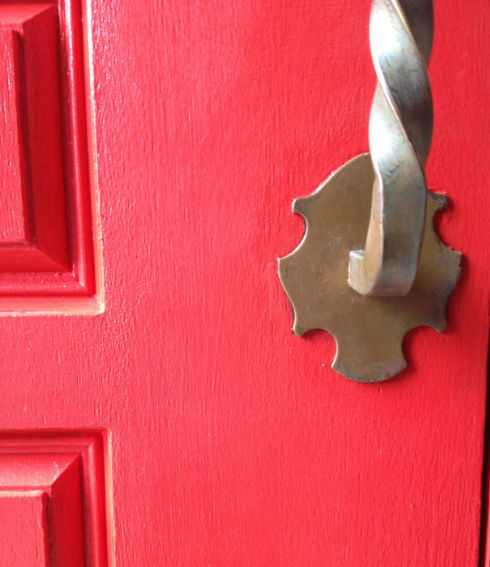
4. Apply one more coat of paint, and voila!
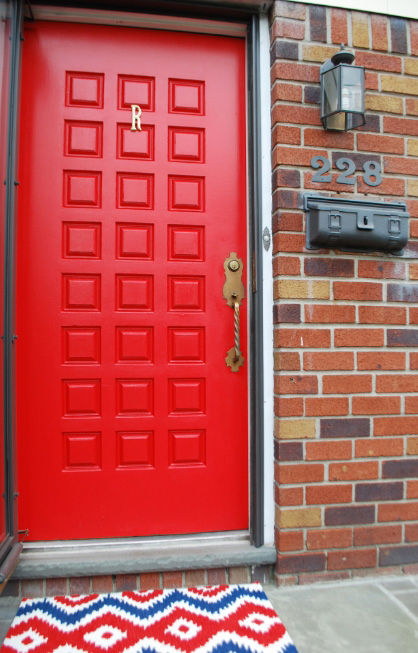
5. Add a personal touch such as a monogram and welcome mat for another pop of color, and you’re all set!
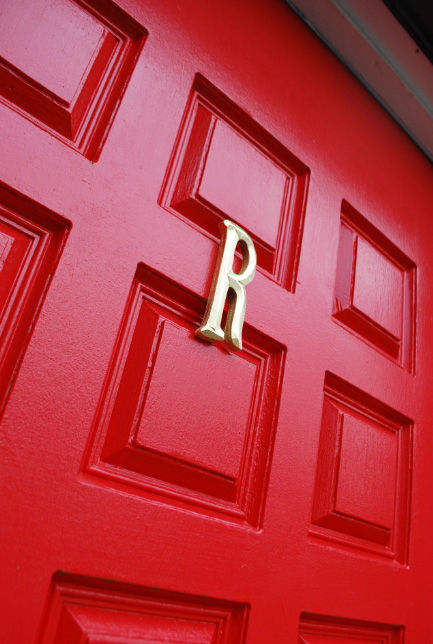
It was such a simple project that was easy on the wallet because I only needed to pick up a quart of paint. I already had a brush, petroleum jelly and cotton swabs at home, but those are inexpensive items to pick up as well. I’m now much happier when I come a knocking on their door.
Related Articles
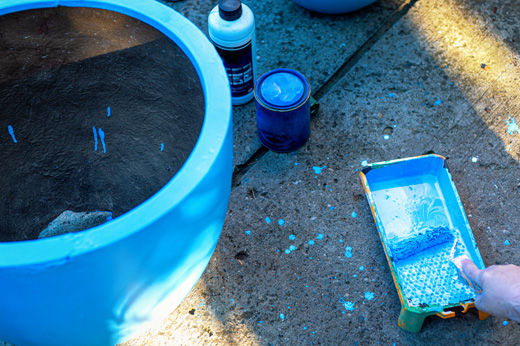
How to Paint an Outdoor Planter or Trellis
Learn how to paint your outdoor planter or trellis in an easy and inexpensive way to customize your patio, deck or garden.
Learn more
Four Tips to Design a Budget-Friendly Curated Gallery Wall
Learn four expert tips to design a budget-friendly curated gallery wall that showcases your style without overspending. This True Value guide helps you plan layouts, mix frames, and use affordable art ideas to elevate your home décor.
Learn more
Holiday Ornaments with Spray Paint
Create custom holiday ornaments quickly using spray paint and simple materials in this festive DIY guide from True Value. Learn easy techniques to transform plain ornaments into stylish, personalized décor for your tree or seasonal displays.
Learn more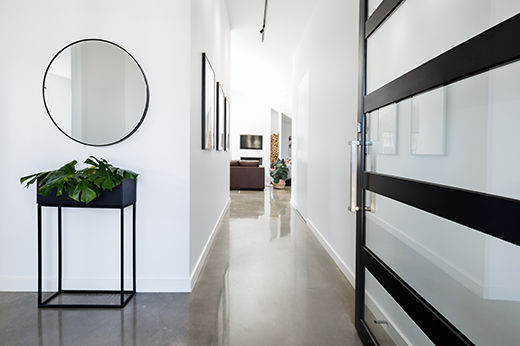
How to Stain Concrete
5 Steps - Learn about staining concrete surfaces including floors including prep work, applying stain and sealant with this DIY guide from True Value.
Learn more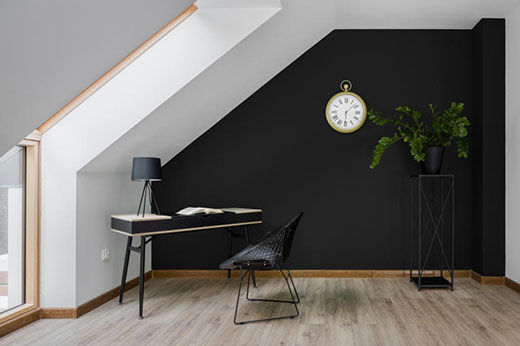
How to Paint a Stunning Accent Wall
6 Steps - Choose your paint color and sheen, then calculate how much paint you will need to cover your chosen wall with this DIY guide from True Value.
Learn more