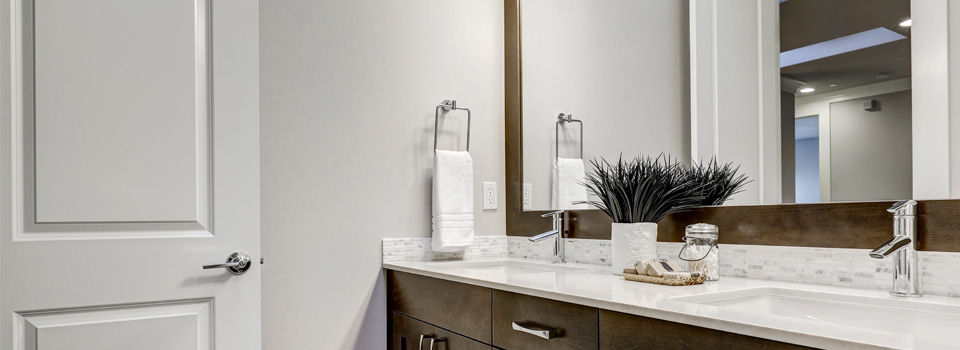
Replace the Vanity
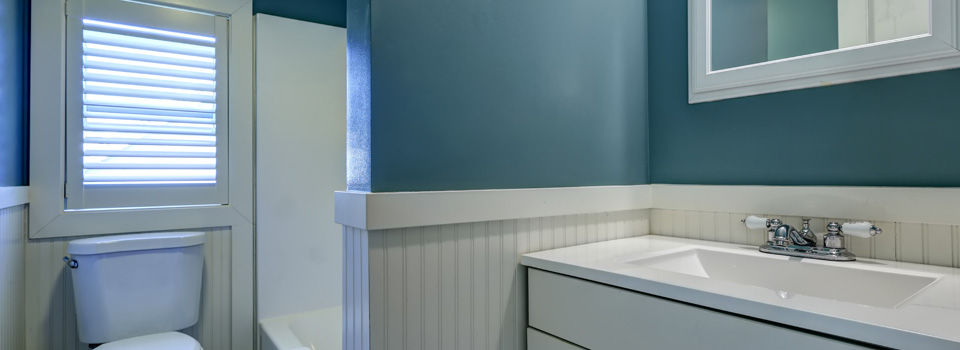
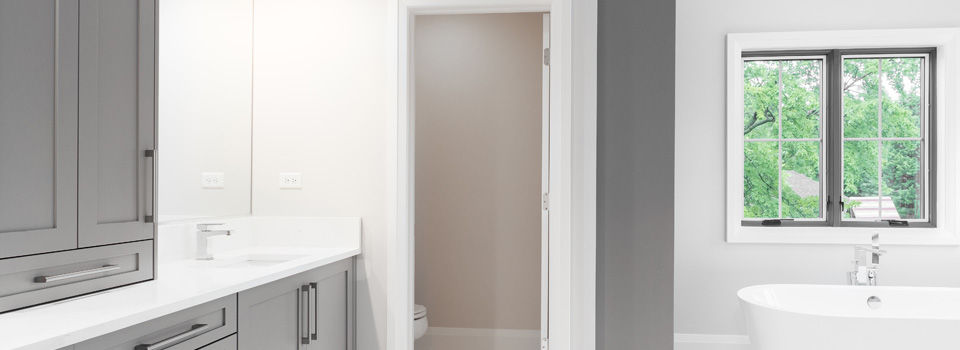
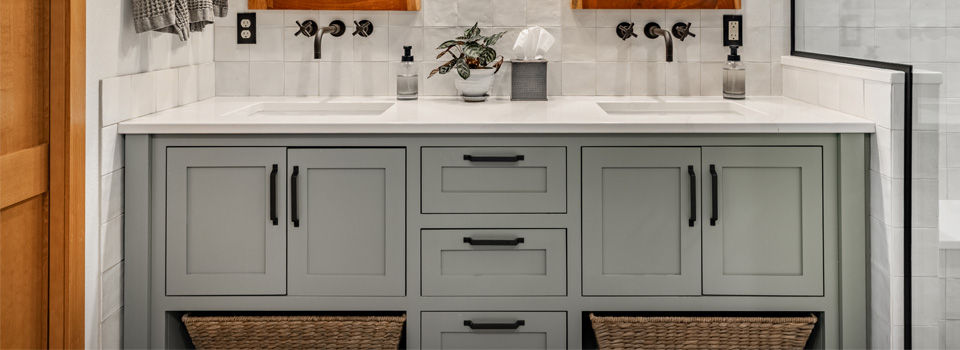
Your vanity is one of the most used items in your home and so it can quickly look worn and dingy and make your bathroom look the same. Replacing your vanity can be a great way to make a big impact on your bathroom makeover. Vanities are available in a variety of colors, dimensions and finishes, ranging from inexpensive basic models to designer originals. When you’re shopping for a new one, pay attention to size — you can go a little larger than your existing vanity, as long as the replacement won’t crowd existing fixtures or overpower the room.
Helpful Tips
Consider the best sink height for your needs. Do you have young children? If so, choose a low vanity so they can reach the sink. Vanities that are a few inches taller are easier for adults, who don’t have to bend as much to use them.
If you already have a wood vanity, you may consider sanding down and staining the bottom half of your vanity a different color and simply replacing the sink, faucet, and cabinet hardware for a more budget-friendly option with the same amount of impact.
If you are installing a new vanity, follow these steps to remove the old unit and install its replacement:
Step 1: Remove the Old Vanity
Shut off the water, and then disconnect the plumbing lines. Remove the sink, followed by the cabinet’s mounting screws. Now slide out the old cabinet from the wall.
Step 2: Measure and Mark
Use a pencil to draw the outline of your new vanity on the wall where you plan to mount it. Measure the vanity’s height and width at its highest point, and draw a corresponding line on the wall. Now draw vertical lines down to the bottom on both sides. Be exact, and make sure your lines are straight by using a straight edge tool such as a yardstick. Use a stud finder to locate any wall studs that may be located within the outline you just drew. Mark their location with your pencil. They will provide a sturdy base for anchoring the vanity to the wall. If your vanity has a back panel, be sure to make holes for the pipes extending from the wall. Mark on the back with a pencil the location of the pipes and cut holes using a jigsaw or drywall saw.
Step 3: Install the New Vanity
Slide the vanity into place, following the outline you drew, and align the holes you just cut for the pipes. Use a level to make sure the unit is straight and even on all sides. If the vanity isn’t level, it’s probably not the unit that’s to blame. Often, the culprit is an uneven floor. If the vanity is not level, even it up by placing wooden shims underneath.
Fasten the vanity to the wall using washers and 3” wood screws (check again to ensure it is level before tightening). Use a power drill to drive screws into the wall and into the studs for a secure installation. Seal its entire top edge to the wall with a bead of latex caulk. If you removed the vanity doors, replace them now.
Don’t forget about the shims. Use a chisel and hammer to carefully trim away portions that protrude.
Helpful Tip
If the shims are large, hide them by placing decorative molding along the bottom of the cabinet, using finishing nails to secure.
Replace the Faucet
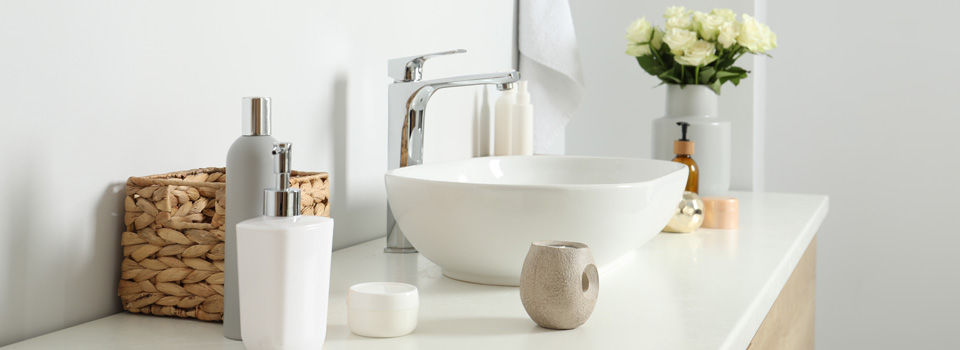
It might be time for a new faucet as well as a vanity. Plan so that the color and style of your new faucet match your décor, accessories, and countertop in your bathroom. There are a number of colors available. Popular choices are in various finishes of chrome, nickel, and stainless steel, among others.
Step 1: Remove the Existing Faucet
Before you begin, shut off water to the fixture by turning the water valves for both hot and cold water located under the sink. Turn on the faucet to drain any remaining water in the lines. Use an adjustable wrench to disconnect the water supply lines. Now spray the faucet tailpiece, mounting nuts, and coupling nuts with WD-40 spray lubricant to loosen them up if they are hard to turn. Detach the coupling nuts first with a basin wrench or channel-type pliers. Next, unscrew the tailpiece mounting nuts and remove the faucet base from the sink. Clean the now exposed surface underneath with mild detergent, a rag, a brush, or a sponge, depending on how dirty it is. If stubborn plumber’s putty remains, scrape it away with a putty knife or gently with a razor blade.
Helpful Tip
Place a small bucket or pot in the under-sink cabinet to catch any water that might spill while you’re disconnecting water lines.
Step 2: Insert New Faucet
Insert the new faucet into the empty opening where the old faucet sat. Caulk the base of the faucet with either silicone caulk or plumber’s putty, applying a bead about 1/4″ thick. Move the faucet into position, being sure that the base is parallel to the back of the sink. Now press the faucet down firmly so that it’s tightly sealed to the sink. Scrape away any excess caulk from the surface of the faucet. Let the putty set.
Step 3: Make Connections
Use your basin wrench or channel-type pliers to connect the metal friction washers to the tailpiece underneath the sink. Then attach the mounting nuts. Attach the supply tubes to the tailpiece, and then use your basin wrench or channel-type pliers to tighten the coupling nuts.
Step 4: Reconnect Water Supply
Now that the supply tubing is attached to the sink, connect it to the water source at the shutoff valves using compression fittings. Tighten the mounting nuts, first by hand and then with an adjustable wrench, turning them 1/4 of a turn to make sure they’re not too tight.
Helpful Tips
When you’re tightening the supply tubing to the valve, hold the valve with another wrench to keep it from turning.
If your new faucet has pre-attached tubing, it is not necessary to connect tubing to the faucet. Connect the pre-attached supply tubes to the shutoff valves with a basin wrench or channel-type pliers. The tubing with a red label connects to the hot water source, and the tubing with a blue label connects to the cold-water source.
See more detailed articles on installing a new faucet, along with more ideas for updating your bathroom, like regrouting bathroom tile.