Helpful Tip
Using flagstones with unique shapes creates an informal impression, as does placing stones randomly with different distances between each. A more formal walkway will have stones set close together with uniform space between each one, as well as squared corners and more traditionally shaped stones.
Measure out the walkway’s dimensions with a tape measure. It is up to you to decide how long or wide you want your walkway. A good rule of thumb for a path width is at least 3′.
Using garden hoses, lay out the shape of your walkway with this measured width. Be sure that your path’s width remains consistent. Measure it again and again as you lay down the hoses. If your path will be straight, you can also use wooden stakes and garden twine to mark the path. If you use stakes, drive them into the ground in intervals, using a hammer and attach the twine to each stake at the base. Keep in mind that stakes and twine won’t work for a curved path. When using hoses as a guide, lay them down in the desired shape of the path and then spray landscaping paint to mark the path’s outer perimeter. Spray along the outside edge of each hose. Let the paint dry and then pick up the hoses and put them away.
Once you’ve bought your stones and have them on site, lay down a few to make a rough layout and to make sure it will look the way you envisioned. Remember that flagstones are not uniform in shape and size and don’t need to fit a set pattern; however, they should work within the dimensions of your marked path. Some stones may need to be cut or shaped when you lay them down (see Step 3). Pick the test stones back up and set them aside.
Step 2: Prepare the Site
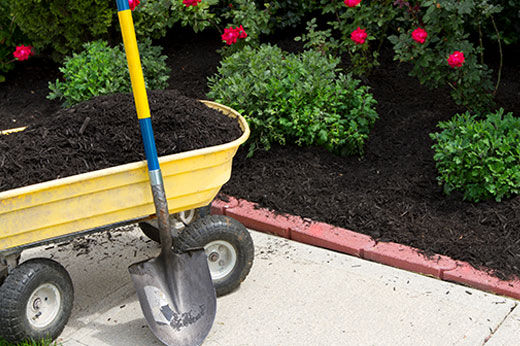
Next you will be digging out the sod and soil between the paint boundaries. If you choose to use the top layer of sod later, dig it up and set it aside in a cool place. Keep it watered. The average thickness of a piece of flagstone is about 3″, so you will need to dig into the soil to a depth of 5″. Use a straight-bladed shovel to cut into the soil along the lines you made with the landscaping paint at this depth. Once you’ve done this along the entire length of your pathway on both sides, switch to a pointed-blade shovel to dig out all of the soil to a 5″ depth.
Safety Alert!
Check to make sure that there are no utility lines running through the area in which you’ll be digging. While you won’t be digging deep, it’s always best to know what is underground in your work area.
Ensure that the ground inside your new trench is as flat and level as possible. Tamp down the soil with a tamper. Once the soil is flat and compacted, add a layer of landscaping fabric to the excavated area as a weed barrier.
Helpful Tip
When laying landscaping fabric, overlap different sections of fabric, when necessary. Be sure to overlap by at least 4″ to 5″ for optimal coverage.
Spread about 2” of fine sand evenly on top of the landscaping fabric so that it covers the entire walkway area. Level the sand by smoothing it with the edge of a length of 2×4. Tamp the sand down over the entire foundation surface with a tamper, taking care to maintain the slope of all surfaces. This will leave you with 3″ of space to fit the thickness of your flagstones. In the end, you want the top of the stones to be level or almost level with the surrounding surface.