


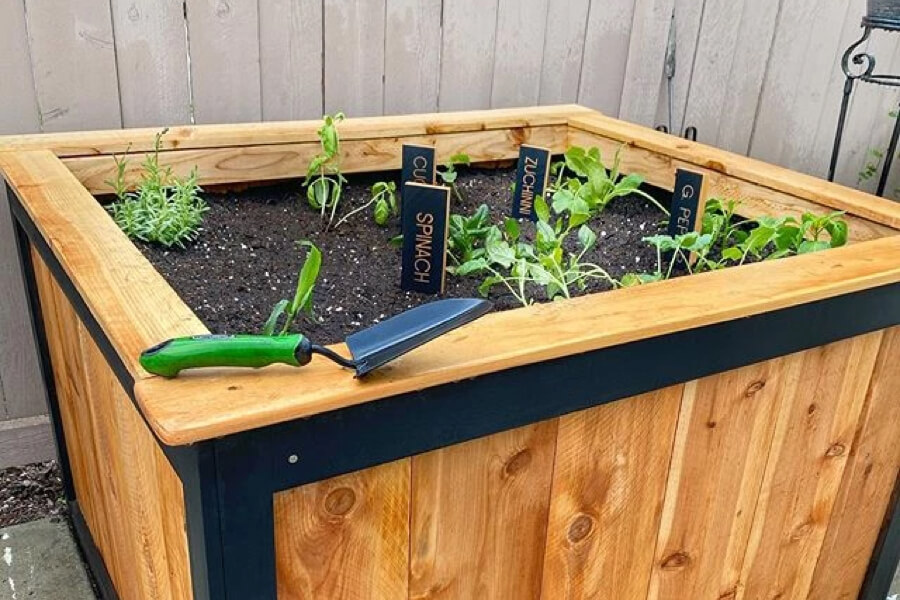
When I started designing my small backyard flip, I had originally planned on building two rectangular raised planters. However, there happened to be a PERFECT spot that concrete did not cover that was roughly a 4 ft x 4 ft space. The extra large single planter would fit there wonderfully!
Having the planter raised was important to me so I could have a little less worry with my kids and pup in the backyard. I love the full look of the planter in the photo and intentionally made it this way so open area underneath would not be seen.
Lets get started!!
(Side note – I would hope that this blog would help assist in the basic structural frame knowledge needed to achieve this look. I made this box to fit in a particular area so your sizing may differ depending on your own placement.)
Materials
- 16 – Cedar fencing pickets – .75 in x 7.5 in x 6 ft
- 6 – Pine 2 in x 3 in x 8 ft
- Garden vinyl
Tools Used
- Master Mechanic Miter saw (I love this one with the forward rails)
- Master Mechanic 10″ table saw (optional)
- Drill
- Pocket hole jig
- Orbital sander
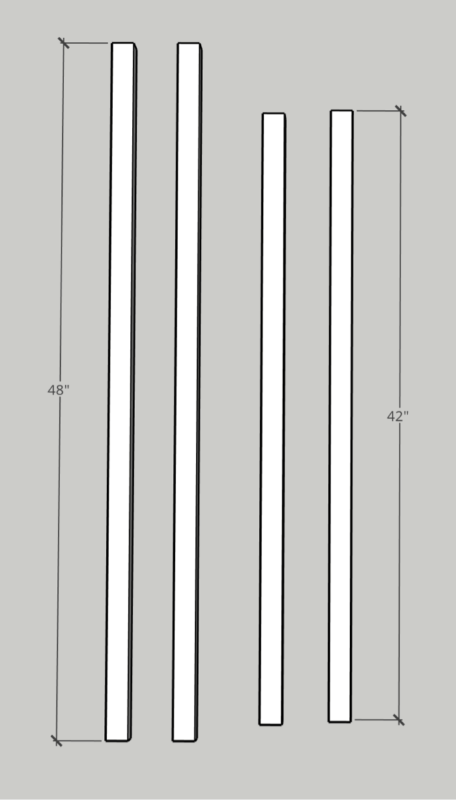
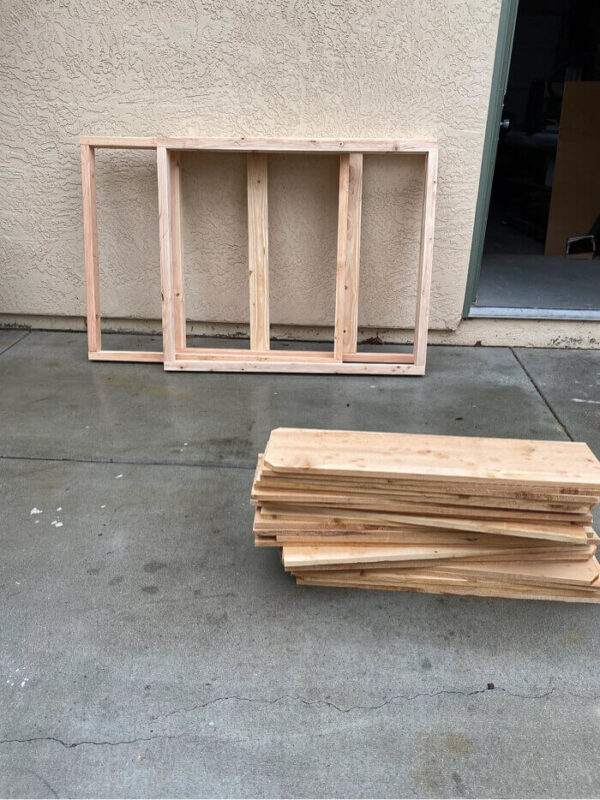
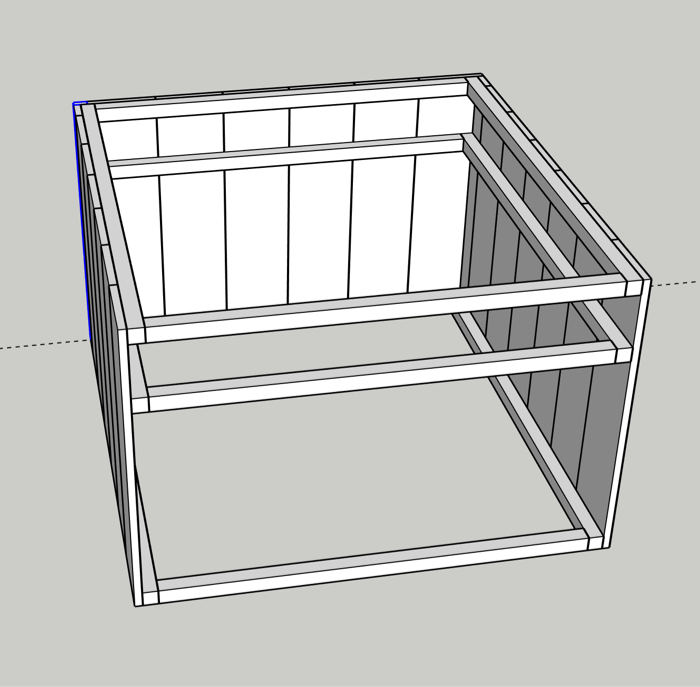
I started by making three rectangles with the 2x3s. One of the rectangles needs two supports along the inside. This will help support the raised bed. Next, I took the cedar fencing and cut them to size to fit along the sides of my determined box size.
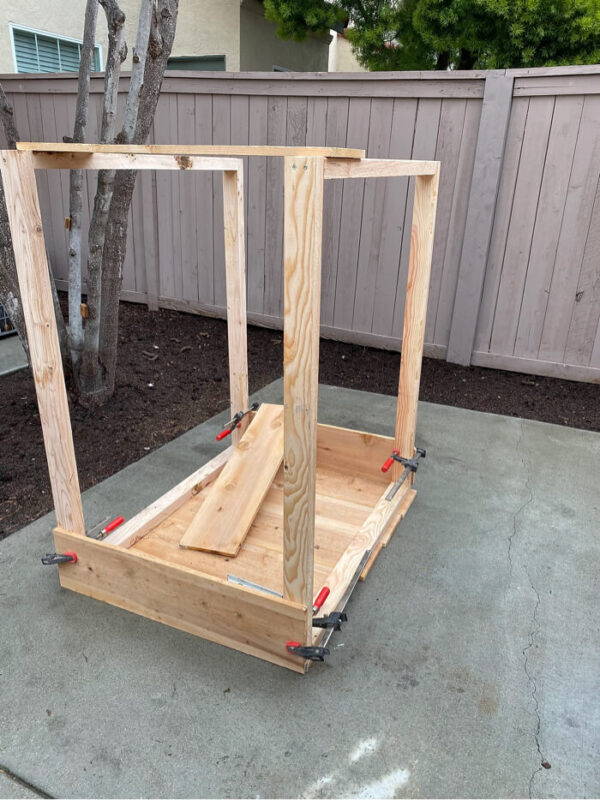
I found that the easiest way for me to assemble everything and keep it squared up was to lay it on the side and clamp boards to the four corners first.
After researching a variety of different options of vegetables that I wanted to grow and their optimal grow depth needed I ended up attaching the raised third shelf (middle supports not shown in photo below) at 9 in. down.
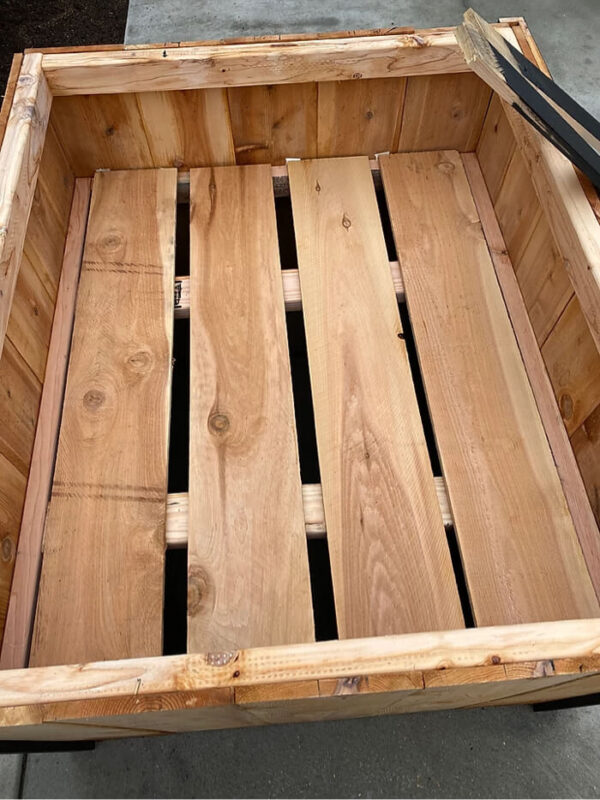
Next, I added middle supports for the raised bed. I spaced these out so the bottom had sufficient draining capabilities.
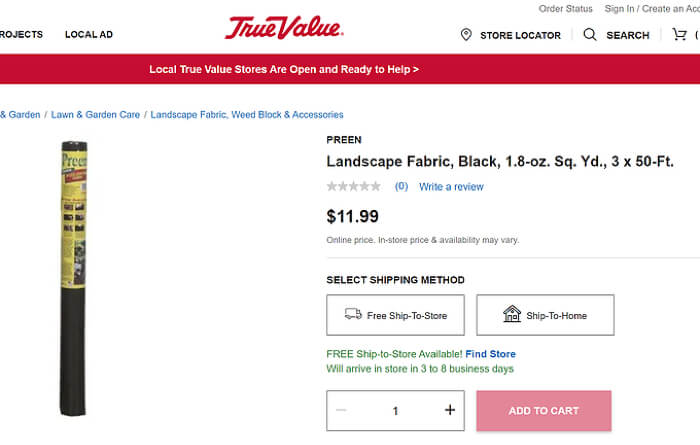
I added black landscape fabric I picked up from my local True Value. Along with a bunch of starter plants. They had them on sale for $1.50 each so I grabbed a ton!
Lastly, I used the remainder of the cedar I had to trim out the sides with a pop of black for contrast. I recommend using the cedar because it holds up really well in weather conditions and is rot and bug resistant.

As always, please feel free to reach out with any questions you may have.
Happy building, Friends!
I used my Master Mechanic Miter saw for all of the cuts in this build. This is a Sponsored True Value post, all opinions are my own.
