


Edging your garden provides a functional and fashionable border that sets your planting space apart from the rest of your lawn. It also protects the garden against erosion, which is more than a mulched bed alone can do.
When it comes to home gardens, the most common types of edging are plastic strip or precast pavers made of brick or stone. You can also simply dig a trench around your garden. No matter what type of edging you choose, this project will show you how to get the job done right.
Dig a Trench
The most basic and economical way to edge your garden is digging an “edge.” Simply dig a trench around your garden or flowerbed with a spade or turf edger, cutting downward about 4″. Standing inside the bed, dig at an angle towards your cut. You can make the trench as wide as you like as long as the trench is the same width all the way around the garden.
You can leave the trench empty, but filling it with pebbles or crushed rocks gives your garden definition and aesthetic appeal. Filling the trench will also save you work in the long run—trenches without fill have to be re-cut from time to time.
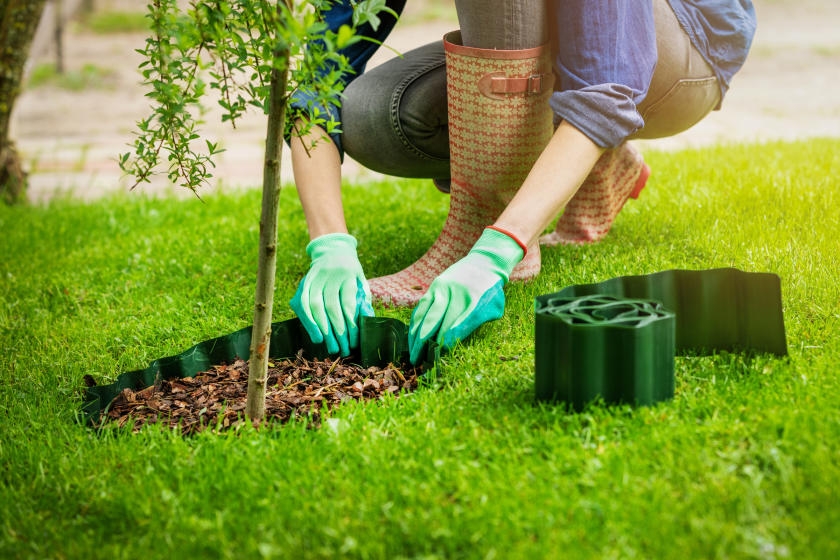
Plastic Edging
Plastic edging usually comes in a roll of black, formed plastic and is easy to install. Because it’s flexible and can be bent to fit, plastic edging is a great choice if your bed has irregular or uneven borders.

-
Step 1: Dig an “Edge”
Make a 4″ deep cut around the perimeter of your garden using a flat-bladed spade or trowel.
Helpful Tip
Laying a garden hose around your garden bed before you start is a good way to mark the shape your edging will take. Once you’re happy with how the garden hose is arranged, mark the border using chalk or grass-friendly spray paint.
-
Step 2: Place the Edging
Put in the plastic edging into the slice you just made with the rounded top sticking up. The top should only stick out of the trench about 1″. After all, plastic edging isn’t meant to be the focal point of your garden. It simply provides a discreet border around your bed, protecting it from invasive grass and weeds.
-
Step 3: Anchor It
Anchor the edging into the ground with metal garden-edging stakes placed every few feet. Once the edging is secure, push the soil you dug out against the back of it.
Once your garden has been edged, you can use your lawn care equipment safely around your new plastic edging.
Brick, Stone and Concrete Edging
For a more formal garden, you might want to use brick, stone or concrete pavers as edging. No matter which kind of stone you choose, the installation process is very similar.
-
Step 1: Map it Out
Based on the size of your edging blocks and how you are laying them out, you’ll have to mark a path around your garden. Set a string line that runs the full length around your bed. This will keep the path of edging uniform around the garden. Then, mark it with grass-friendly spray paint or chalk. Take note of the dimensions of your edging blocks so you’ll know how wide to make the trench.
-
Step 2: Make the Cut
Using a spade or trowel, cut 4″ into the soil. Once the cut is made, dig towards your cut from the garden bed until the brick or stone edging can sit level below the roots of the grass.
-
Step 3: Prepare the Ground
To prepare the ground before laying the edging, make sure there’s a solid footing for the bricks or stone to rest on. Filling the cut with a sand or gravel foundation will create a solid base. If your yard sees a lot of flooding, opt for a gravel foundation since it’s the more stable option. Fill the cut with sand or gravel high enough so when the edging block is laid, it will sit about 1″ above the ground.
-
Step 4: Lay Them Down
Put the first block at the desired height and correct level. Using this first edging block as your guide, lay the rest of the blocks keeping them straight and uniform. The tops of the blocks should sit just a bit above the ground. Depending on the shape and size of your garden, you might need to cut some of the bricks or stones to make them fit. You can rent a brick saw to make any needed cuts. An angle grinder with a stone cutting blade can also do the job.
Safety Alert!
When edging with brick or stone blocks, be aware of the height of your edging. They might not be safe to go over with a mower.
Nice work! Not only will your new edging make your garden look like it was installed by a professional, the edging will last for many years.
Project Shopping List
Here’s what you’ll need to complete this project successfully.
- Flat-blade garden spade or turf edger
- Trowel
- Pebbles or crushed rock (optional)
- Plastic bed edging
- Garden hose
- Chalk
- Grass-friendly spray paint
- Metal garden-edging stakes
- Brick, stone or concrete edging stones
- String line
- Sand
- Gravel
- Brick saw
- Angle grinder
- Stone cutting blade