


Garden trellises maximize garden space and create a pleasant aesthetic effect, whether you’re growing vegetables, fruit or vines. Because they allow plants to grow vertically, the plants receive more sunlight, oxygen and room to grow. Keep reading to find out how to build a simple garden trellis archway for vegetables, vines and flowers, and get into vertical gardening right.
Choose a Trellis Type and Location

Know what kind of trellis you need. There are a few ways to build one. They can be freestanding and made completely of wood or you can use wood and some sort of netting. Trellises also can be installed on exterior walls to help ivy and other vine-type plants to grow up along the surface and provide a natural and attractive focal point for your home’s exterior.
Before you build your trellis you have to decide where you’re going to put it. If you’re going to plant it near other plants or flowers, position the trellis so that it won’t cast shadows on them. The ground should be flat and level without any rocks or debris within two feet of the surface.
Helpful Tip
When purchasing lumber for your trellis, remember to use treated wood that can withstand the wear and tear from the elements.
How to Build a Freestanding Trellis with Plastic Netting or Wooden Slats
Step 1: Plant Support Posts
Measure how high you want your trellis and add 24”, for the length of post that sits in the ground. Using a circular saw cut two support posts to the determined size. With a shovel or post-hole digger, dig two 24”-deep holes. Place them at whatever distance from each other your trellis size requires, for example, 5′ apart. Use a mallet to drive each wooden fence post deeply into each hole. Fill in both of the bases with dirt.
Safety Alerts!
Before using a circular saw follow all manufacturer instructions on operation and safety.
Do not wear loose clothing, over-sized gloves, jewelry or any accessories that can get caught within the spinning blades or other moving parts of a saw or another power tool. Secure long hair.
Helpful Tip
Use wooden stakes to give your trellis more support. Drive each stake into the ground, angling it toward the foot of each post.
Step 2: Assemble the Trellis Frame

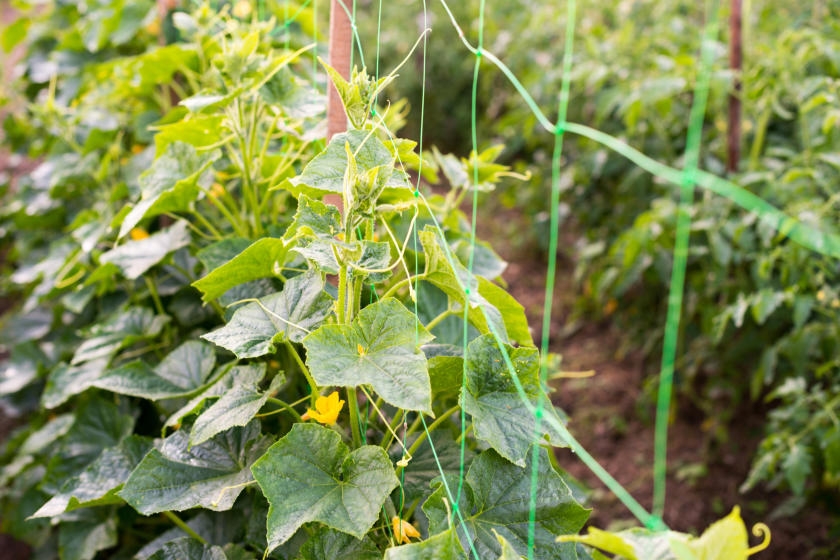
If you’ll be using plastic trellis netting to support your climbing plants, use wire to create the trellis’ skeleton, supporting the plastic netting that will, in turn, support your plants as they climb. To attach the wire, wrap it tightly around one post, and then staple it securely at the top using a staple gun. Then run the wire over to the other post, wrap it around the post and staple it there.
Helpful Tip
Your knots must be very tight to make sure the trellis stays solid and steady. Have a firm grip by using a pair of pliers.
As you hang your plastic netting, start by spacing S-hooks every 12″ to 15″ across the wire between the posts. Hang the netting from the hooks, just like you’d hang a shower curtain. Staple the netting to each post with your staple gun, pulling it taut as you go. Move downwards, stapling every 2″ to 3″ until you reach the bottom of each post.

If you’re using wood slats for the frame, measure the distance between the posts with a tape measure. Use a circular saw to cut 1” x 2” lumber to fit lengthwise between the posts. Attach each end of these pieces to one of the support posts, using a power screwdriver and wood screws. Measure down the post 6” with a tape measure and then mark this location with a pencil. Then attach another 1” x 2” piece horizontally between the posts at the pencil marks. Repeat this until you reach the bottom of each support post.
Next, cut 1” x 2” lumber to fit vertically and support the horizontal slats you just installed. The distance between the top and bottom horizontal slats will determine the length of these pieces. The number of these pieces that you cut will depend on your trellis’ overall size. Place the first of these vertical pieces by measuring out from one of the posts 6” and attaching it to the top and bottom slats with nails or wood screws. Measure out 6” from the first vertical piece and install the next one. Repeat until you have all vertical pieces installed. The vertical and horizontal slats together should form a latticework of 6” squares across the gap between posts.
How to Build a Wall Trellis

Use a wall-installed trellis to support climbing plants and turn an exterior wall of your home into a vertical garden. This design also will allow you to easily remove the trellis when the seasons change or if you need to take it down for maintenance.
Step 1: Install Wall Anchors to Hang the Trellis
Determine the size of your trellis and use a tape measure to mark it out on the wall. Drill holes in the wall so that you can screw L-hangers in (three for the top rail and three for the bottom rail). If you have vinyl or wood siding, be sure that the L-hangers will be fixed to 2” x 4” studs inside the wall. Use a stud finder to locate the studs. If you will be attaching the trellis to brick or concrete, drive the hangers directly into the wall.
Remember to buy hangers long enough that they will hold the trellis several inches away from the wall. This will give you access to that area of the trellis when you’re caring for your climbing plants.
Step 2: Cut Lumber for the Trellis Frame
You will need 1” x 2” lumber for all the pieces except the top and bottom rails, which require 2” x 2” lumber. Cut the lumber to the width and length you measured, using a circular saw.
Step 3: Assemble the Trellis Frame
Working on a large flat surface, nail or screw the two outer pieces to the top and bottom rails. Next, attach the 1” x 2” horizontal rails from behind. Use two nails or screws at each joint for rigidity. After all rails are attached, then attach the vertical pieces, again using two nails or wood screws per joint. The vertical and horizontal slats together should form a latticework of 6” squares.
Step 4: Hang the Trellis on the Wall
Finally, hang the trellis on your outside wall by the L-hangers. This allows for easy removal for maintenance.
Congratulations! Welcome to the wonderful world of vertical gardening. Enjoy your new trellis.
Project Shopping List
Here’s what you’ll need to complete this project successfully.