
|
Lets start off with the rectangle frame. Using the 2x4s, cut 2 – 2 x 4 @ 67″ pieces and 2 – 2 x 4 @ 31″ pieces.

This DIY has been an amazing addition to my backyard seating area. I love to LOUNGE at the end of the day and kick my feet up, so this build is perfect for just that. With the weather getting warmer, its the perfect time to add this to your own home!
|
Lets start off with the rectangle frame. Using the 2x4s, cut 2 – 2 x 4 @ 67″ pieces and 2 – 2 x 4 @ 31″ pieces.

Next are the supports for seating. You will need 5 – 2×4 @ 28″.
Four of the 28″ supports will be evenly placed from front to back to support the mattress. I set these in the frame one inch down the top so the cushion was set into the frame as opposed to on top of to prevent the cushion sliding. I attached these using pocket hole screws.
The last 28″ support is flipped vertically and attached at 52″ to butt up against where the mattress cushion will end. This piece also acts as a support for the side table.

The legs and backing.
I learned the hard way that its MUCH easier to attach the legs and backing once they are pre assembled. You’ll need 4 – 2 x 4 @ 31″ for these legs.

The longer side has 4 – 2 x 4 @ 63″ backing pieces. I started at the top and worked my way down, using a 1″ spacer and attaching them to the legs with pocket hole screws.
The shorter side has 4 – 2 x 4 @ 25.5″ pieces, spaced and attached as the larger backing was.

The legs are attached to the rectangular frame 12.5″ up.


The front leg is a 2 x 4 @ 16″ and is attached to the inside of the rectangular frame.
Lastly, I used a single cedar picket that was 7.5″ wide and cut 2 – 31″ pieces for the side table. I attached these to the frame from the top.

I did a light stain on mine and sealed it with Thompson Water Seal from True Value. I’ve used this sealant on all of my outdoor projects and its by far the best outdoor protection I have worked with.
As always, please feel free to reach out to me if you have any questions. I am excited to see and re share your builds!
Happy building, Friends!

Knowing what gardening or plant hardiness zone you live in can help you choose what to plant in your garden. Check our planting zones map!
Learn more
If you want to know how to winterize your lawn mower, check out our new six steps guide! Learn all about lawn mower winterization, lawn mower storage and more.
Learn more
Before the first frost hits follow these 5 tips to get your home exterior ready for the winter cold.
Learn more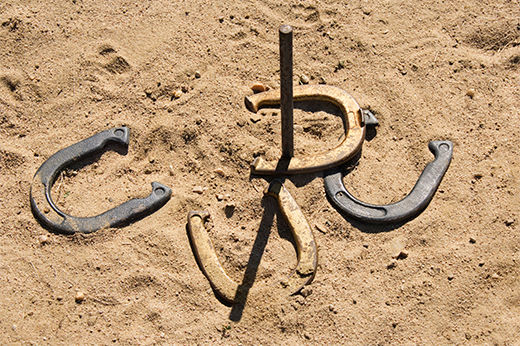
6 Steps - Learn how to install a horseshoe pit in your backyard including how to build the frames, excavate the ground, and setting the stakes with this DIY guide from True Value.
Learn more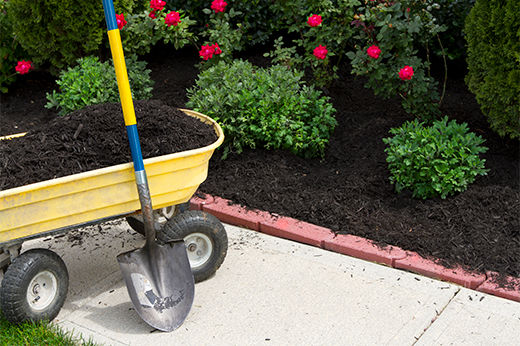
Transport heavy materials or equipment with ease using a wheelbarrow or cart. Discover the differences between them to pick the best one for you.
Learn more