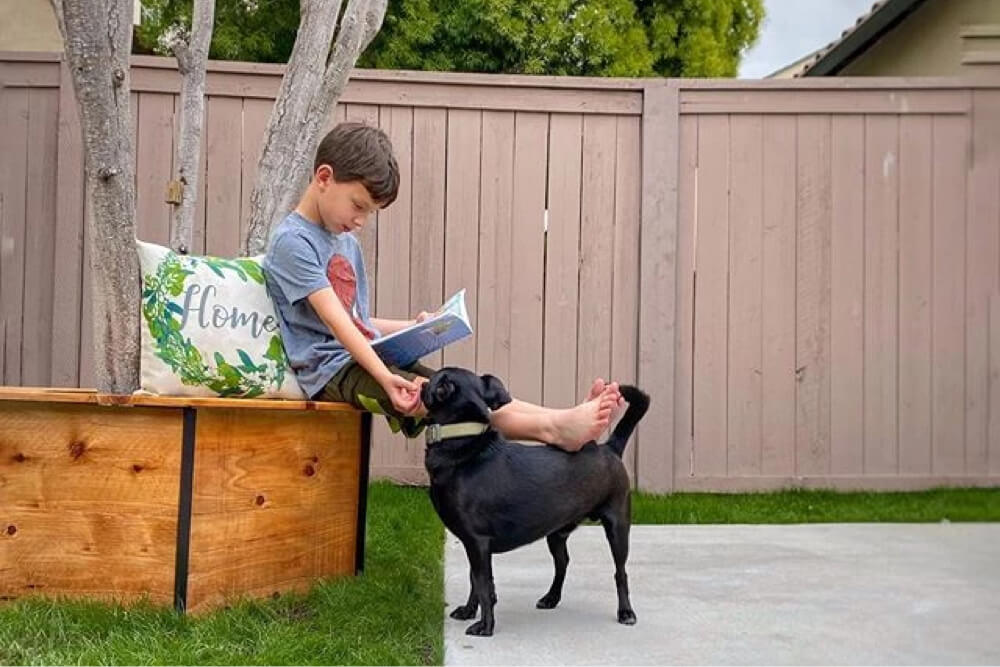
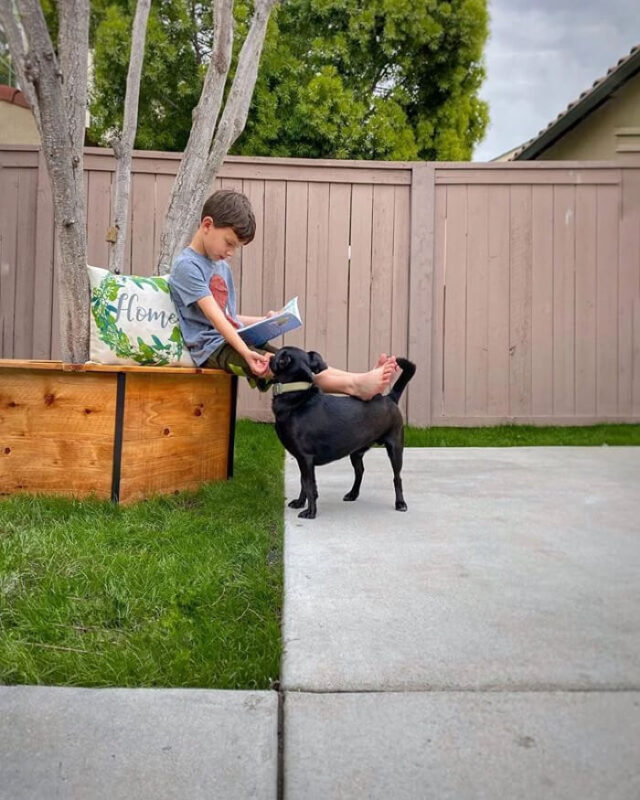
This little bench was a fun addition to our backyard and my boys love having it! I strongly suggest you read the entire blog before jumping in. Especially with projects like this, because chances are that your tree circumference is going to be different than my little tree in our current backyard.
Let’s get started!
Materials List
- 10 – cedar pickets 7.5″ x 6 ft
- 3 – 2 x 3 x 8
Tools Used
- Master Mechanic Miter saw (I love this one with the forward rails)
- Drill
- Pocket hole jig
- Orbital sander
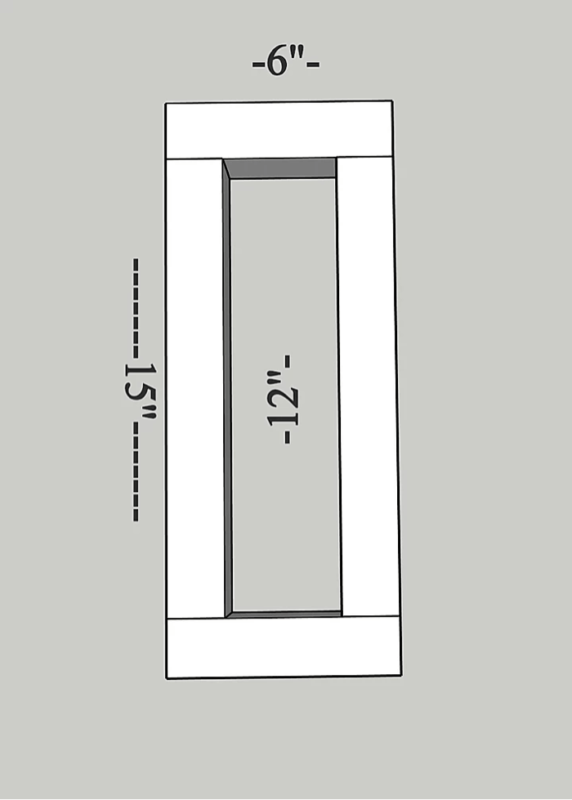
The bench itself is a hexagon, a six sided shape. I started by taking my 2x3s and making 6 rectangles as shown. These are going to act as the main supports for the bench and they will be hidden.
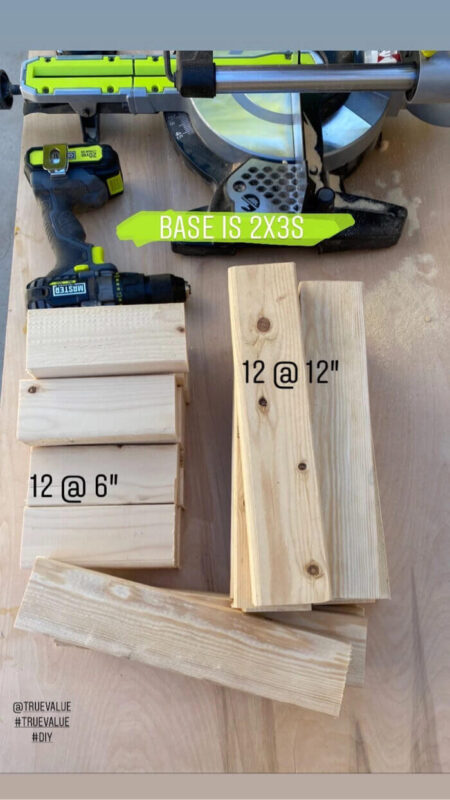
The 12″ long 2x3s are on the inside of the 6″ pieces, making the entire leg 15″.
Next, you will need to determine the size you need to wrap around your own tree. I started making my seat pieces shown below at 16″ but it was a little too big so I ended up trimming them to 14″. This allowed for a closer, tighter fit around the tree base.

To make the hexagon shape, each side will need a 30 degree cut.
Once the seating is determined, I found it easiest to start building around the tree at this point. It is important that the ground around the tree is completely level or your bench will be off.
Each 2×3 leg is attached to the seating using 1.5″ decking screws. I simply attached these from drilling the screws through the top of the seating down into the leg.
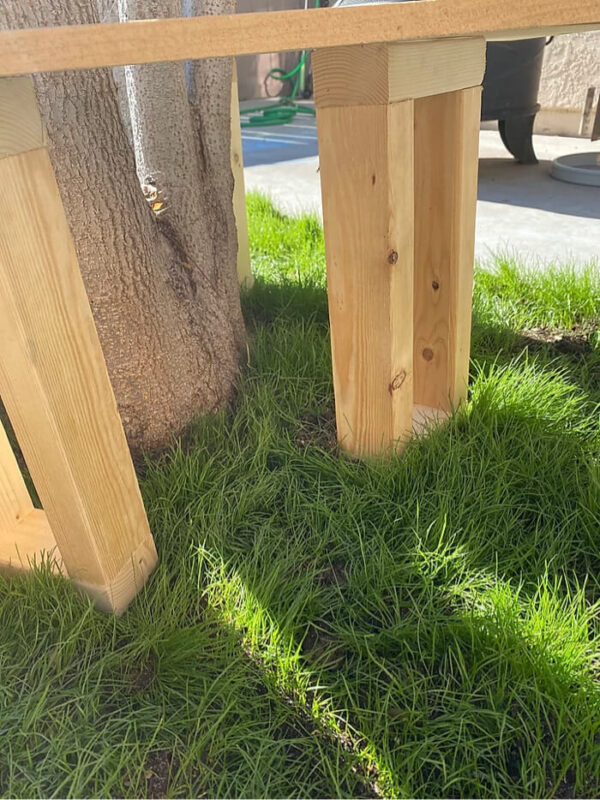
Each leg is centered between where two top pieces meet.
Lastly, to hide the structural frame, we will wrap the rest of the cedar around the base. The height of the 2×3 legs are the same height as two of the cedar fencing pieces stacked one on top of the other.
These will be the same length as the seating pieces and also cut at 30 degrees on each end.
These were attached using .75″ pocket hole screws.
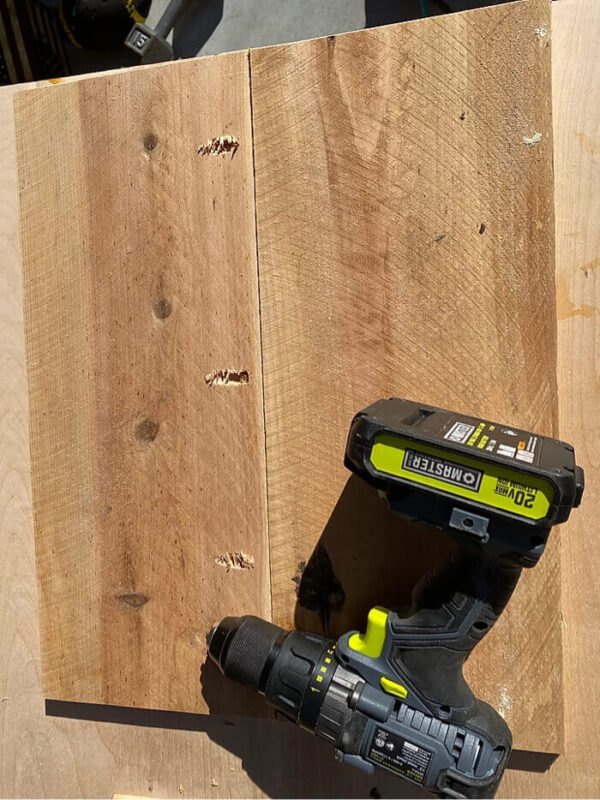
Since these are not structural pieces, they were attached using wood glue and brad nails. Attaching from the seating with brad nails as well as directly into the 2×3 leg where they connected.
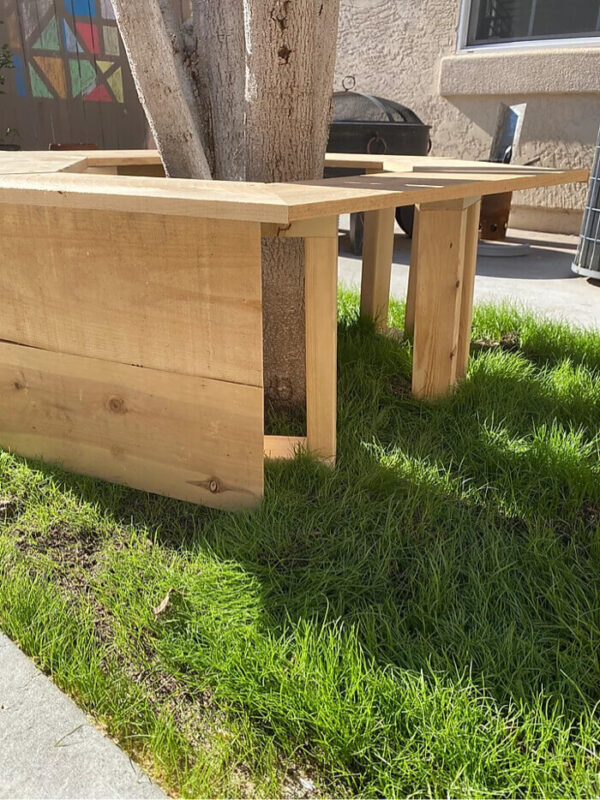
I added black trim for a contrasting look to match my other backyard pieces and sealed with Thompson Clear water seal I picked up from my local True Value.
As always, please feel free to reach out with any questions!
Happy building, Friends!!


