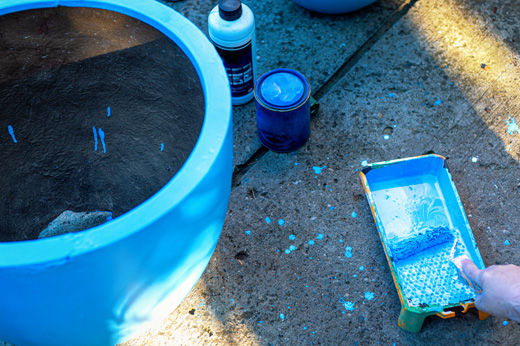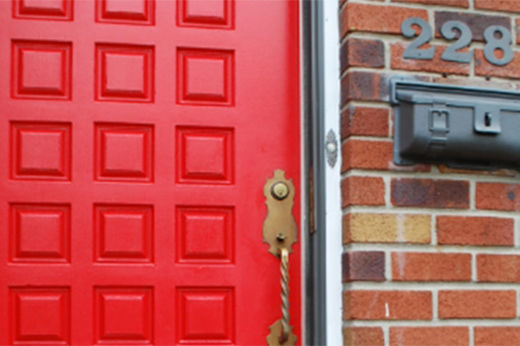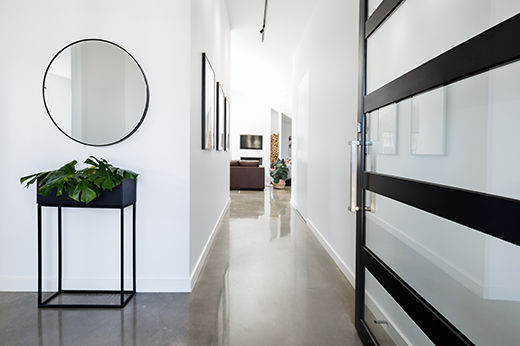
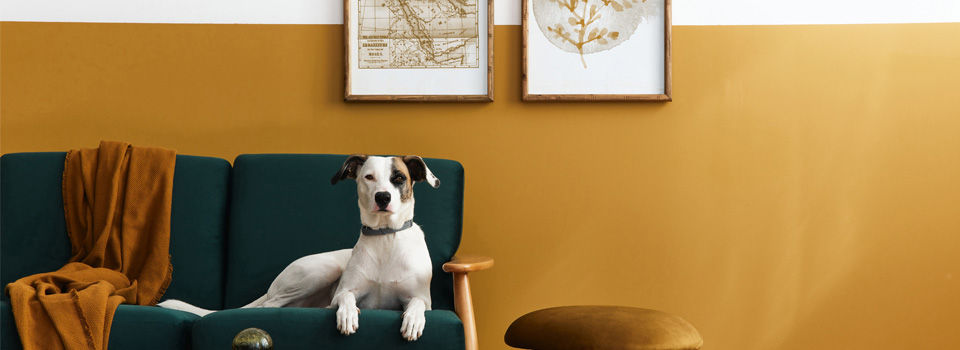
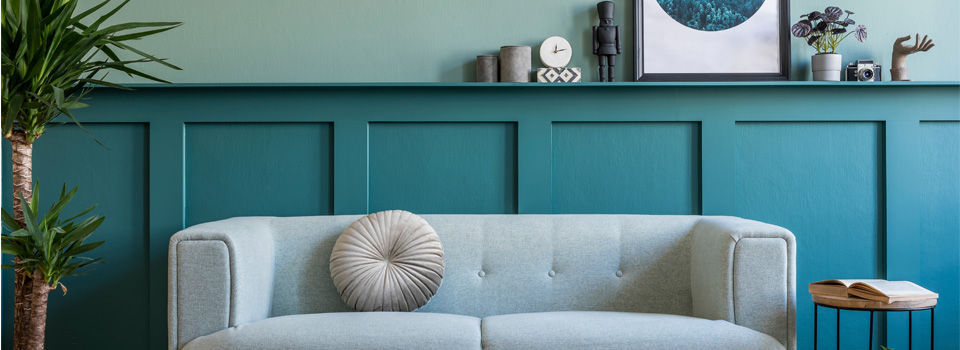
Consider analogous colors. These are colors that are related (next to each other on the color wheel) such as greens and blues or oranges and reds. Usually, one color is dominant while the other is used to enrich the effect.
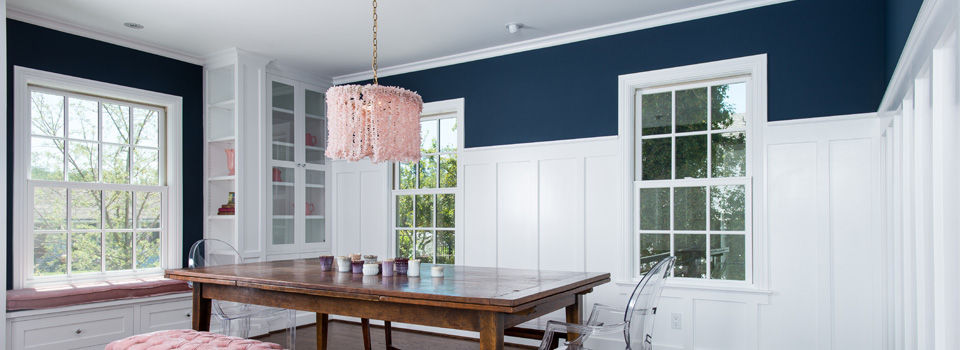
Complementary colors are those opposite each other on the color wheel, or those that almost clash. This scheme puts colors together that strongly contrast one another (but don’t fully clash) to create a stimulating effect, such as oranges with blues. When using a complementary color scheme, you must always remember to make one color dominant. Lighter colors often give the illusion of space in a room, while darker colors can shrink it and make it feel cozier. For this project, we’re going to describe how to complete a two-tone painting job horizontally, with the two colors on the wall divided by top and bottom. In this case, the darkest or strongest color usually works better on the bottom part of the wall.
Do your color research and check to see how your color choices might look in your rooms. Paint samples in small areas or tape swatches on the walls to see how they will look. Decide which colors might work best together. Do any colors work as transitions from one room to the next? Consider the furnishings and accessories in your rooms, as well as the finish on any wood trim.
Helpful Tip
Always check how the colors you choose look in both natural and incandescent light, during daytime and at night.
Don’t forget to consider the sheen, or finish, of your chosen colors. Paint sheen is basically the surface texture the paint creates and a measurement of how much light bounces off the painted surface. Whether you pick a flat, eggshell, satin, semi-gloss, or gloss finish, it can affect the overall look of your two-tone paint job.
Step 2: Prepare the Room
Get the room ready for painting. Remove furniture from the room or place it in the center of the room and cover it with drop cloths or tarps. Cover the floors at the base of the walls with drop cloths or tarps and secure them to the floor with painter’s tape. Remove fixtures, window coverings, switch plates, and outlet covers. Use painter’s tape to protect windowsills, baseboards, door hinges, the ceiling perimeter, and anything else that you don’t want to get paint on.
Properly cleaning and repairing surfaces is extremely important when painting since paint doesn’t adhere to dirt or damaged areas. Use a sponge or cloth to wipe down your interior walls with an all-purpose household cleaner and water, and then allow it to dry. If your wall has any cracks, holes, or other damage, apply spackling compound with a putty knife. Once the compound dries, sand the repaired area with fine-grit sandpaper. For extensive drywall damage or larger drywall repairs, see How to Patch Drywall for repair instructions.
Step 3: Mask the Wall
To achieve a two-tone paint effect, you need some kind of border or dividing line between the two wall sections. If you don’t have molding or another permanent feature that does this naturally, you can create a clean, distinct line by masking the wall with painter’s tape.
Using a yardstick or measuring tape and a level, mark where you want the line to be using a pencil. The middle of the wall (horizontally) is an ideal, general location. Measure up from the floor about 36” to 40” and place a mark at this spot. Hold your yardstick or measuring tape horizontally against that mark with one hand while placing a level against your measurer. Adjust until your horizontal guide is level and trace a line with your pencil along the top of the measuring tape. Continue creating this line in the same way across the length of the wall. Place painter’s tape along your pencil line. For example, if you start with the bottom of the wall, you will place the painter’s tape above the line you marked.
Score the outer edge of the tape with your fingernail or the dull edge of a small knife so the paint will not bleed under the tape. Keeping each color from bleeding into the other is essential for a neat, professional-looking job.