
I checked out the doorbell ringers at True Value and immediately found one that was perfect for my traditional style home, a Michael Healy brass doorbell ringer in a pretty pineapple design. I fell in love with the pineapple after a visit many years ago to Colonial Williamsburg, where I learned the pineapple has long stood as a symbol of hospitality, dating all the way back to the 16th century.
How I Replaced My Doorbell, Step by Step

Recently, while sweeping leaves off the front porch, I noticed my old doorbell ringer was looking pretty sad. After 20+ years, it was time to consider replacing it.

I ordered the Michael Healy Pineapple Doorbell Ringer in their polished brass finish to go with my existing doorknocker and doorknob. This doorbell ringer also comes in a nickel and oiled-bronze finish on the True Value site. My ringer arrived quickly, and I couldn’t wait to install it!
Before installing my new doorbell ringer, I turned off the power to the existing doorbell per the instructions that came with my new ringer. Removing my old doorbell proved to be a little more involved than I had expected. The screws holding the old ringer onto the molding surrounding the door had rusted and would not loosen up. Fortunately, they were sticking out just far enough, I was able to use my Dremel with its metal-cutting wheel to cut the heads of the screws off. I wore safety glasses while doing this, just in case a tiny sliver of metal flew toward my face.

Once I had the old doorbell ringer loosened from the wall, I once again ran into a rusty screw problem. The screws holding the wires in place would not budge. They were so rusted that they just chipped away as I tried to unscrew them.

Since the screws wouldn’t budge, I simply cut the old doorbell away.
Once the old doorbell ringer was removed, I needed to expose the wires again in order to attach the new ringer. I used wire cutters to just barely nick the insulation surrounding the wires. Using my thumbnail, I pulled the insulation away to expose the wires. In the photo below, one wire was done, and the nick in the other one is visible in preparation for removing it, too.
You need to be super careful when using wire cutters to cut away the insulation surrounding the wires. Too much pressure and you can easily cut right through your wiring. Since I had a limited amount of wire to work with, I didn’t want to risk cutting all the way through, so I found that just barely nicking into the insulation and pulling it away with my thumbnail worked very well.
Now both wires were exposed and ready for the doorbell ringer.
I loosened the screws on the new doorbell ringer (see white arrow below) in preparation for the install. Be careful that you don’t unscrew them too far out. I did that with one of the screws, and it took me a while to find it on the floor of the porch because they are so tiny!
While we’re looking at this picture below, notice the black plate sticking out here from the pineapple part of the ringer. That is the mounting plate. Some of the Michael Healy doorbell ringers are designed so that the plate is removed from the decorative front part of the ringer, in this case pineapple. I briefly attempted to unscrew the hinge screw, but it just spun around and around. I didn’t want to risk breaking the mechanism, so I opted to install the doorknocker as one piece instead of separating the hinge plate.

I tucked the wires I had exposed behind each of the two screws and tightened down the screws to make the connection. It doesn’t matter which side the wires are attached…they can attach to either side or screw.
The doorbell ringer attaches to the molding with just one screw. Fortunately the screw is a good bit bigger than the previous screws, so I was able to use one of the existing screw holes for a snug fit. The screws that come with a Michael Healy doorbell ringer are stainless steel, which means there will be no problems with rusty screws down the road.
Since I had left the mounting plate attached to the pineapple, it was a little tricky screwing the mounting screw all the way in. The pineapple would only lift up a short distance, so it blocked my efforts to reach the screw with a regular screwdriver.

An offset screwdriver came to the rescue! Have you ever used one of these? It worked like a champ! Everyone needs one of these in their tool arsenal because you never know where you’re going to need it!

Using the offset screwdriver, I finished tightening the mounting plate against the door frame molding. Unfortunately, the molding around my door isn’t flat, so I couldn’t get a completely flush mount, but it was pretty close. The doorbell ringer didn’t wobble even the slightest. It’s a nice, snug fit.
Here’s how it looked once installed. So pretty and a definite improvement over the old one!
Because this doorbell ringer was such a nice, big size, it completely covered up the imprint left on the paint by the old ringer. It also has a little built-in light, so there’s a soft glow surrounding the pineapple once it gets dark. This makes it easy for guests to find the ringer even if the porch lights are off at night.

It makes a beautiful statement in all its welcoming, hospitality glory! I love how it looks with my existing brass doorknob and door knocker. So much nicer than the old one!
As mentioned before, this particular ringer comes in several finishes. Michael Healy makes so many adorable designs, there’s a shell, crab, palm tree, dragonfly, frog, fleur-de-lis…too many to list them all here. You can see them all on the True Value website or at your local True Value.
Related Articles
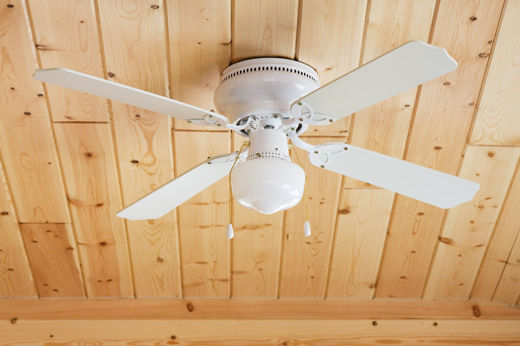
How to Paint a Ceiling Fan
Refurbish a ceiling fan with a coat of paint with this DIY guide from True Value.
Learn more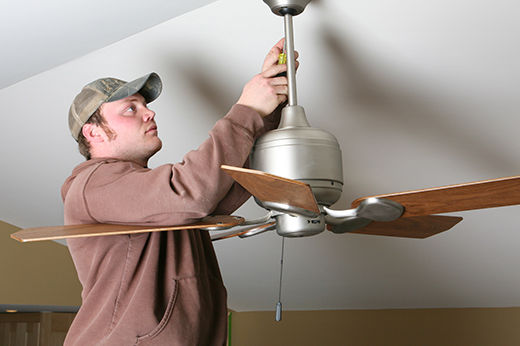
Top Tips for Easily Fixing a Wobbling Ceiling Fan
If your wobbly fan is causing you a headache, check out our definitive guide on how to balance a ceiling fan. Check out True Value's ceiling fan repair kit.
Learn more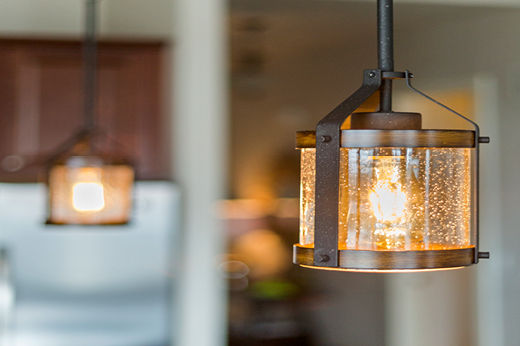
How to Change a Light Fixture
Swapping out an old, outdated light fixture adds instant appeal and value to your home, and it isn’t hard to do.
Learn more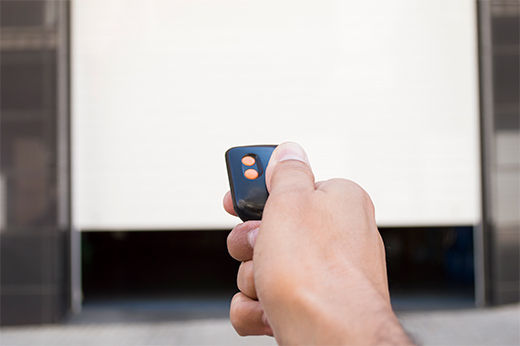
How to Install a Garage Door Opener
7 Steps - Update your home's curb appeal by learning how to safely install your new garage door by following this DIY guide from True Value.
Learn more
How to Install Outdoor Floodlights
Learn how to install floodlights outdoors by choosing the right locations, finding nearby power sources, and connecting power with this 5 step DIY guide.
Learn more