


So you’ve decided to sell your home. Interior painting is an excellent way to stage your home and make a great first impression to potential buyers. By giving your rooms an eye-catching look you’re sure to increase your chances of selling your home at a fair price.
Step 1: Choose Which Rooms to Paint
Choose which rooms are priorities and paint them first. Rooms where the walls are damaged or out-of-date are good places to start. Also consider repainting high-traffic rooms, such as kitchens, bathrooms and living rooms. Pay special attention to your foyer since it is ground zero for a prospective homeowner’s first impression of your home.
Step 2: Choose Your Paint Colors
When painting to sell your home, you should consider your market. Who will be looking at your house? A family with young children will love washable walls, while a retiree may appreciate uniformity and sensible colors. Keep in mind that you’re not painting to satisfy your personal tastes and aesthetics but to make your home universally desirable. Your goal here is to ‘’depersonalize” your home in order to make it seem like anyone could live there.
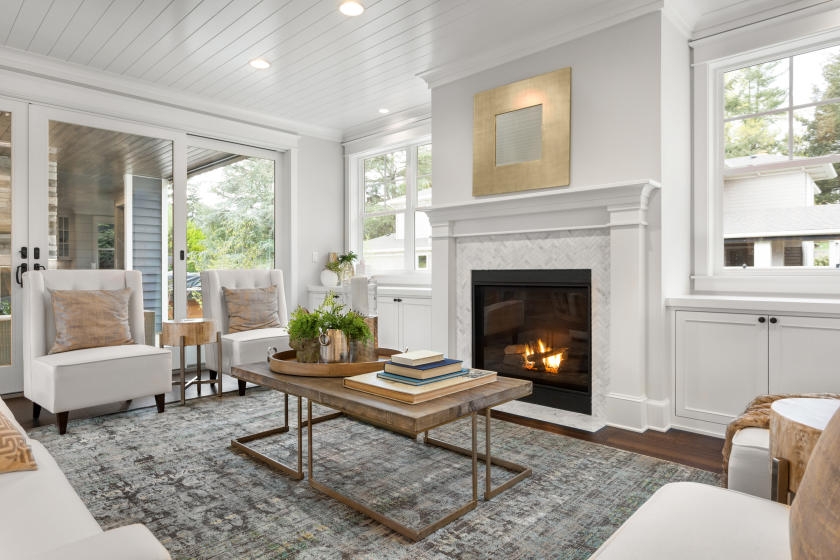
When painting interior rooms your goal should be to give buyers an idea of the room’s potential. Rooms painted in bold or daring colors, though enjoyable, may detract from the room itself. Real estate experts advise using a pallet of light, warm colors such as beige and taupe to create an inviting indoor atmosphere.
When choosing colors, consider the size and dimensions of the room. A darker color can give an intimate feel to a wider room, while a lighter color can make a small room feel larger. Avoid using stark white, which can make rooms feel sterile and does not highlight features, like large windows and fireplaces. If you’re painting to match other surfaces in your home, take advantage of True Value’s color-matching service to find the perfect shade.
Choose True Value EasyCare Ultra Premium Interior Paint for the project. It comes in a wide array of colors and finishes, including flat, flat enamel, eggshell, satin, semi-gloss and high-gloss. Your local True Value hardware store’s Certified Color Experts can answer questions you have about paint and paint color. While you’re there, you can pick up a Custom Mixed Color Sample to try a few colors on your walls at home. Color samples allow you to paint a small space and live with different options for a while before making your decision. You can also pick up Paint Idea Cards, which have predetermined palettes ready for you.
Once you’ve decided what colors you are going to use, you’ll need to know how much to buy. When estimating, a good rule of thumb is to multiply the length of each surface by its height and add another 30 percent for good measure. Typically, one gallon of paint will cover 350 to 400 square feet. Buy more than you think you will need, you can always use the extra for touch-ups.
Step 3: Prepare Rooms
Remove furniture from the room in which you’re working or place it in the center of the room and cover it with drop cloths. Place drop cloths or tarps on the floor and remove fixtures, window coverings, switch plates and outlet cover. Use painter’s tape to protect windowsills, baseboards, door hinges, the ceiling perimeter and anything else that you don’t want to get paint on.
Properly cleaning and repairing surfaces is important when painting since paint doesn’t adhere to dirt or damaged areas. Use a sponge or cloth to wipe down your interior walls with mild detergent and water and allow it to dry. If walls have cracks, holes or have areas that are damaged, apply spackling compound with a putty knife. Once it dries, sand it with fine grit sandpaper. For extensive drywall damage, see the project, How to Repair Drywall to learn how to make larger repairs.
Helpful Tip
If you need to make repairs, add an extra day to your plans to give the compound time to dry.
Safety Alert!
If your home was built before 1978, test the exterior layer of paint with a lead paint testing kit to determine whether it contains any lead-based paint. Lead poses a serious health hazard, especially to children and pregnant women. To protect yourself and your family, avoid scraping or sanding lead-based paint.
Step 4: Prime and Paint
You don’t have to apply a coat of primer before you paint, but doing so will make the paint adhere and wear better. Additionally, priming is advisable if your walls are stained or you wish to use light-colored paint over dark walls. With a brush or roller, apply True Value EasyCare Ultra Premium Interior Primer/Sealer widthwise in 6-ft. square sections, using a zigzag pattern of overlapping ”W” strokes. Move from right to left, then left to right, spreading evenly with horizontal strokes. Once the primer has dried, pour EasyCare Ultra Premium Interior Paint into the paint tray and apply using the same technique as priming. If necessary, apply a second coat of paint using the same technique as the first. You don’t have to let the paint completely dry between coats, but your results will be better the longer you wait.
Safety Alert!
Open the windows to make sure you’ll be priming and painting in a well-ventilated area.
Step 5: Clean Up
Now that your home is painted to sell, pick up your drop cloths or tarps and close up your paint cans. Dispose of used paint or sealant cans appropriately. Cleaning paintbrushes and other tools can be made easy with warm, soapy water. Thoroughly rinse your roller covers and brushes in water until the water runs clear, then place them in a brush/roller spinner (if you have one) to remove excess liquid. Store in their protective sleeves or hang them on nails or hooks. Pick up drop cloths carefully, making sure you don’t spread around any paint that may have gotten on them. Next, remove painter’s tape at a 45-degree angle to avoid removing any fresh paint. Remember that the longer it stays on, the harder it is to remove.
Well done! You’ve taken an important step toward preparing your home for the open market.
Project Shopping List
Here’s what you’ll need to complete this project successfully.