


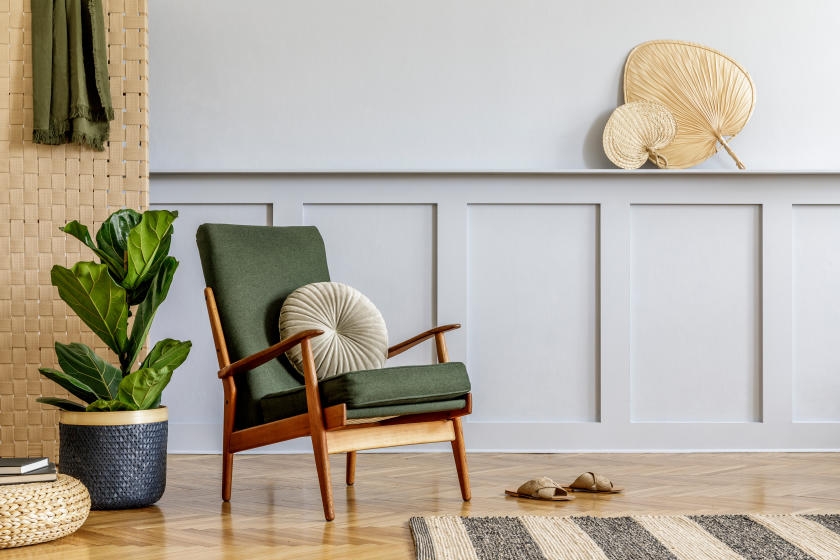
Wainscoting is wood paneling that lines or borders the walls of a room. It’s an attractive home improvement that can transform your walls from ordinary to extraordinary in no time at all. Installing and painting wainscoting is much easier than it once was because of today’s newly designed precut wainscoting panels.
Install Basic Wainscoting
The do-it-yourself steps below will guide you through the process of installing basic wainscoting and offer guidance on how to paint it. Head to your local True Value hardware store for the expert advice you need to make your wainscoting a success.
Step 1: Measure the Room
Use a tape measure to determine the total linear footage of the room. Divide by the width of the panels to find the number of panels you’ll need.
Step 2: Protect the Room
Cover furniture and the floor with drop cloths or tarps.
Step 3: Remove Old Molding
Pry up and remove any old base molding in the room with a putty knife. If you intend to reuse the molding, be careful not to damage it during removal. Remove all outlet covers in the room with a screwdriver.
Helpful Tip
Tape screws to the outlet covers, so you don’t lose them.
Step 4: Install Baseboard
Install the baseboard using a carpenter’s level to make certain it is installed parallel to the floor. Attach the baseboard to the wall using a brad nailer. Two paneling nails will hold each section in place.
Step 5: Prepare Wall for Panel Placement
Establish a level line for the top of the panels. Most precut wainscoting panels are 32″ tall. If that’s the case, measure up from the floor 32 ½” and mark with a pencil. Use a carpenter’s level as a straightedge and lightly draw a line around the room. As you install the wainscoting, make sure its top is even with the level line. Locate the wall studs with a stud finder and mark them lightly just above the level line. This will help you when you nail the wainscot panels in place.
Step 6: Place the Panels
Start in one corner of the room with a full panel. Apply construction adhesive to the back of the panel and set it flush with the level line on the wall. Secure it with paneling nails and a hammer. If the panel will cover an outlet, cut a hole for the outlet with a jigsaw before installing, measuring from the right edge of the previous panel instead of the corner.
Helpful Tip
Because wainscoting is a wood product, it is subject to expansion and contraction. Leave a 1/16″ gap between panels to allow for shifting over time. Continue installing panels until you reach the corner.
Step 7: Fit Corner Panels
To fit panels to corners, measure from the top of the last full panel to the wall and subtract 1/8″ from the measurement. Measure from the bottom of the last full panel and subtract 1/8″. Taking measurements from the top and bottom should make up for any wall intersections that aren’t perfectly square. Once cut, you can install the panel 1/16″ from the last full panel. Place the corner panel and continue installing the rest of the panels.
Step 8: Install the Molding
Once you have installed all panels, add shoe molding — a finishing trim also known as quarter round — at the bottom of the baseboard to conceal any gaps. Attach it to the baseboard every few feet. Install the top molding. The top piece rests on a ridge along the top of the panel segments.
The adjoining corner pieces fit together at the corner of the walls, since the top pieces are miter cut for a snug fit. Slide the top piece in place and when it’s aligned properly, secure it to the wall with a brad nailer. Secure the crown cap along the top molding. Caulk any gaps at the corners using a caulking gun. You can paint over it later to match the paint of the molding. Replace outlet covers.

Paint Wainscoting
When painting a room, wainscoting needs as much attention as the walls and ceilings. Here’s how to do it.
Step 1: Paint the Baseboard
First, cover all areas of the wall flush with baseboards with painter’s tape. With a small paintbrush, paint from the top of the baseboard panel downward using 5 or 6 short strokes. Then smooth over with a single, long, even stroke. Also, consider using a paint shield as a movable masker to paint along the floor with long brush strokes.
Helpful Tips
Paint wainscoting with EasyCare® Ultra Premium Interior Paint in a semi-gloss finish.
Paint only 2-3 feet of baseboard at a time. As you paint, examine the surface for drips, spatters and overlapped edges and clean them with a rag.
Step 2: Paint the Paneling
Use a similar application when painting the paneling, using either a medium paintbrush or paint roller. Begin by painting along the top and bottom edges where the wainscoting meets the wall and floor. Paint the indented panels and the molding around them using up-and-down strokes on the vertical areas and back-and-forth strokes on the horizontal areas.
Step 3: Clean Up
Thoroughly rinse your roller covers and brushes in water until the water runs clear. Store covers and brushes in plastic bags or hang them on nails or hooks to dry. Remove the drop cloths or tarps from the floor.
Congratulations! You have successfully completed a home improvement project sure to dress up any room in your house.
Install Wainscoting: Project Shopping List
Here’s what you’ll need to complete this project successfully.
- Tape measure
- Drop cloths
- Tarps
- Putty knife
- Screwdriver
- Baseboard
- Carpenter’s level
- Brad nailer
- Paneling nails (optional)
- Wainscoting panels (32″ tall)
- Pencil
- Stud finder
- Construction adhesive
- Hammer
- Jigsaw
- Shoe molding (finishing trim)
- Caulk
- Caulk gun
Paint Wainscoting: Project Shopping List
Here’s what you’ll need to complete this project successfully.