


Give your kitchen an economical facelift by updating old, worn cabinets. Simply apply a fresh coat of paint and add new cabinet hardware to make your kitchen look new again.
Step 1: Plan It

Before you start painting kitchen cabinets, spend some time planning what you want your kitchen to look like. Consider refinishing cabinets and applying a new shade of paint. Updating dark cabinets to a lighter, brighter color can lighten your kitchen and give the illusion of more space.
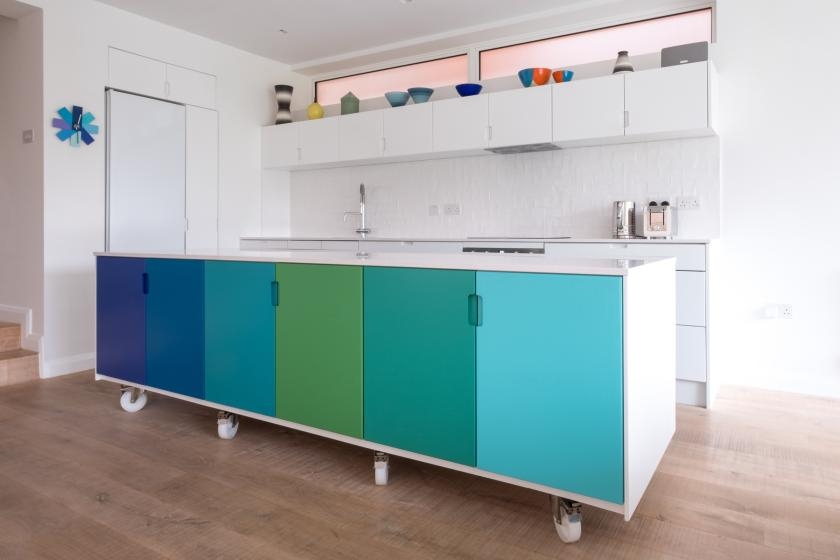
To create a modern look, consider combining a solid color palette of light blue, bright red and other brilliant hues to complement stainless steel appliances. You can pair this color scheme with a neutral accent color like white, brown, black or metallic as a finishing touch to your kitchen’s décor.


Step 2: Remove Old Hardware and Prepare Area
Use a screwdriver to remove all old cabinet hardware, handles, knobs and closures. You don’t have to remove the cabinet doors to repaint them, so leave them on their hinges if you’re not going to replace them. However, it is easier to paint the cabinet’s façade with the doors off. You can paint the hinges to match the cabinets or mask them with painter’s tape to keep them as they are.
Cover the countertops with newspaper to protect them from paint drips and spills. Secure the paper with painter’s tape. If you’re painting the bottom cabinets, place plastic or canvas drop cloths or tarps on the floor. Secure the drop cloths with painter’s tape to keep them in place.
Step 3: Clean and Prepare Kitchen Cabinets for Painting
Before adding primer and paint, learn how to properly clean and prepare your cabinets. Use trisodium phosphate (TSP) to thoroughly clean and prepare all surfaces you’re going to paint. Mix TSP powder and water in a bucket according to the manufacturer’s instructions. Use this solution and a sponge to wash all surfaces of the cabinets, including the doors, cabinet façades and the front and sides.
Safety Alert!
Use TSP as directed by the manufacturer. TSP can corrode metal and damage finished wood. Be sure to wear protective eyewear, clothing and rubber gloves.
Once the cabinets have been washed and dried completely, sand with coarse-grit sandpaper until the cabinet finish is dull. This will give a rough texture to the surfaces so the primer and paint can better adhere. Wipe away dust with a damp cloth and allow to completely dry.
Step 4: Prime Kitchen Cabinets
Apply True Value EasyCare Ultra Premium Interior Primer/Sealer to the front and back of the doors with a roller. Then prime the cabinet façade. If you plan to paint the underside of the cabinet, you should prime it now. Use a small paintbrush to reach any areas the roller won’t fit, including the hinges if you’ll be painting them.
Helpful Tip
Don’t prime or paint the doors when they’re closed—you’ll risk ruining the paint before it dries or having the doors stick to the cabinet façade. Open them all the way when you’re finished priming and allow them to dry overnight.
Safety Alerts!
The fumes from paint and primer can be strong, so be sure to open windows or doors for proper ventilation. A fan will help ventilation by pushing or pulling the fumes outside.
If you need to use a ladder, make sure it’s properly positioned and stable before you climb.
Keep all painting materials and equipment away from children and pets.
Step 5: Paint Kitchen Cabinets
Once the primer has dried, it’s time to paint the cabinets. Using the same method you used to prime, apply the first coat of paint. Cabinets must withstand a lot of wear and tear—so choose a durable paint such as True Value EasyCare Ultra Premium Interior Paint. Apply a final coat after four hours. Make sure you leave the cabinet doors open for several days so the painted surfaces dry completely.
Helpful Tips
Since you saw where the roller couldn’t reach when priming the cabinets, do the brushwork in these areas first when painting. Then follow with the roller.
Treat the cabinets with care for the next few weeks—even though they’re dry, the paint can still be marred by scratches in the paint within this time frame.
Step 6: Clean Up
Pick up your drop cloths or tarps and close up your paint cans. Dispose of used paint cans appropriately. Cleaning paintbrushes and other tools can be made easy with warm and soapy water. Thoroughly rinse your roller covers and brushes in water until the water runs clear, and then place them in a brush/roller spinner, if you have one, to remove excess liquid. After they have dried, store brushes or roller covers in their protective sleeves or hang them on nails or hooks. Pick up drop cloths carefully, being careful not to spread around any paint that may have gotten on them. Next, remove painter’s tape at a 45-degree angle to avoid removing any fresh paint. Remember that the longer it stays on, the harder it is to remove.
Step 7: Swap Out Cabinet Hardware
Switching in new cabinet hardware is an easy remodeling step that can add impact to your kitchen makeover. Just make sure the new hardware matches your kitchen’s décor. For example, if your design scheme features a floral motif, install flower-shaped knobs. Granite or marble countertops and backsplashes match well with granite or marble knobs. If you have stainless steel appliances, consider stainless steel hardware. Is there an abundance of copper in your kitchen? Try copper knobs and hinges. Want to go modern? Use sleek, minimalist hardware such as chrome pull bars. A country kitchen can really pop with cast-iron hardware.
Helpful Tip
Match knobs and hinges. For example, if you buy new stainless steel knobs, also get stainless steel hinges.
Congratulations! You now have new kitchen cabinets without the cost.
Project Shopping List
Here’s what you’ll need to complete this project successfully.
- Screwdriver
- Painter’s tape
- Newspaper
- Drop cloths or tarps
- Trisodium phosphate (TSP)
- Bucket
- Sponge
- Coarse-grit sandpaper
- Roller applicator
- Paint tray
- Two tray liners
- Small paintbrush
- EasyCare Ultra Premium Interior Primer/Sealer
- EasyCare Ultra Premium Interior Paint
- Fan (optional)
- Ladder
- Stepladder
- Fine-grit sandpaper
- Cabinet hardware