


Never underestimate the power of paint. However, today I’m taking paint outside the home and writing about how to revamp exterior spaces with paint. The process is a little different than interior painting since it requires a bit more prep work, but it is even more rewarding – in my opinion – than interior painting.
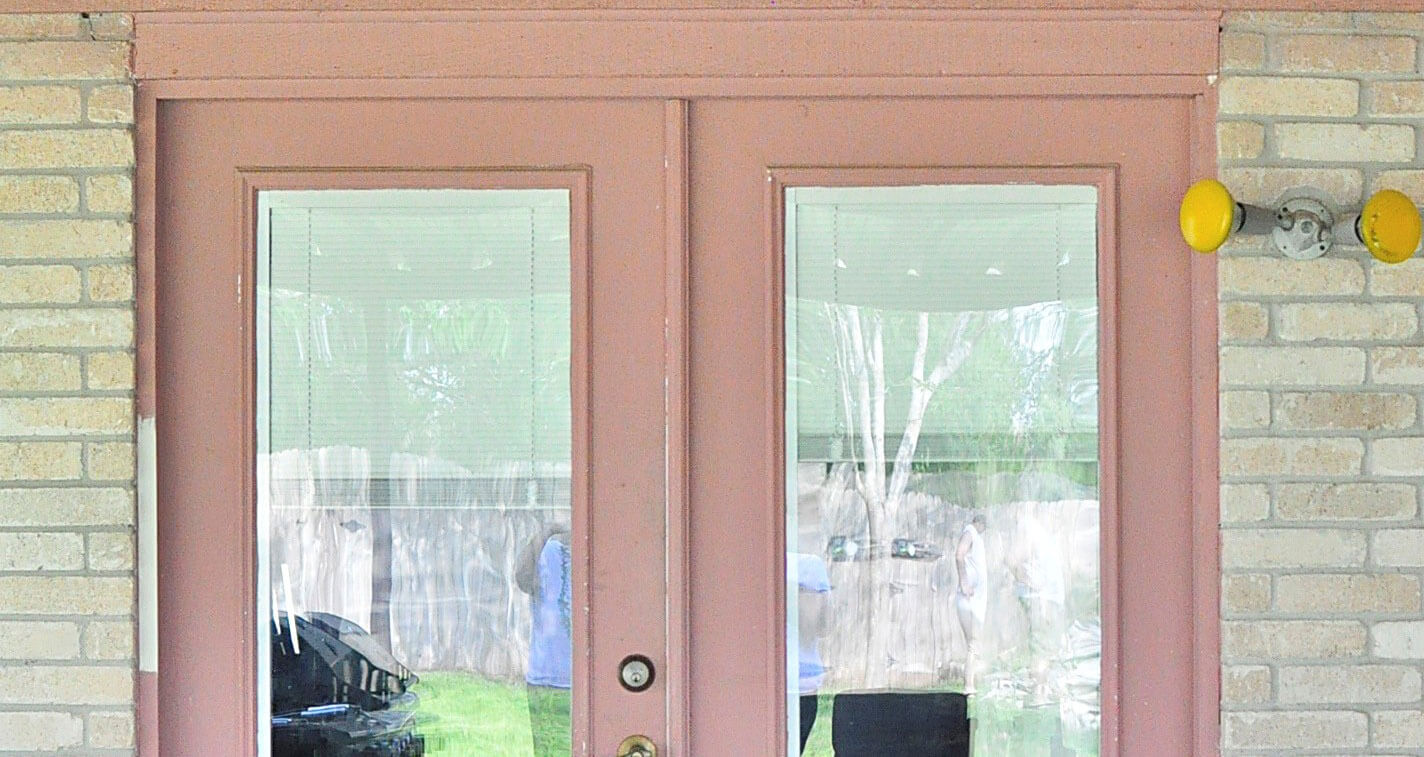
Our home is painted with a horrible salmon color trim. I’ve lived with it for four years, and I finally decided to take the first step in changing the color. I decided to start with a small, manageable spot that would give my patio an instant facelift. We tackled this project over a weekend, and now I just want to sit on my patio all day long to enjoy the brightened up space.
I wanted the paint to be durable, so I chose to work with True Value’s EasyCare® Ultra Premium paint in a satin finish. It is also a paint and primer in one, which saved us time and money. Yay!

Before I prepped the space, I placed the shutters I bought last year near the doors to help get the right color palette. The color of the patio door will be the same color as all the trim, so I wanted to ensure everything jived together. Picking paint colors is challenging to me, so for the exterior I wanted something timeless that I wouldn’t tire of easily.

I had some paint samples, so I did a large swatch of each before deciding on a color. I ended up having the color matched at my local True Value, and I couldn’t be more thrilled with the color. It’s bright white with a light beige/gray undertone. Perfect with our brick and shutters.

Now, let’s get ready to paint. Here are the steps we followed:
1.) Use a power washer (we love this one) to thoroughly wash the area you’ll be painting. Let dry fully before moving on.
2.) Sand your surface to ensure a smooth start to your painting. Wipe off all the dust with a tack cloth (I buy several and keep them handy).
3.) Tape off any areas you don’t want painted with an exterior grade painter’s tape. We picked up a roll of Scotch Blue Exterior Painter’s Tape and highly recommend it. It worked flawlessly and we didn’t end up with paint on our brick or patio floor.

4.) Time to paint! Use the highest quality rollers and paint brushes you can afford. We usually stick with Purdy products from True Value. We used a small angled brush for the framed inset, and a small roller for the main parts of the door and surrounding trim. We did three coats and ended up with a fabulous, smooth, professional finish. We did sand between coats and wipe off all the dust before continuing onto the next coat.

5.) While the paint is still wet from the final coat, remove the painter’s tape. Touch-up any areas, if needed.
6.) If needed, replace any outdoor light fixtures or hardware to finish updating the look.
And finally, we’re done! Now I am totally inspired to keep going and get all the trim painted…in the fall when it’s a little cooler here in Texas! No more salmon for us (on our house, anyway!)

The new door hardware and patio light really make this feel like a bigger makeover than it really was. It’s so much brighter now. In. Love.

Exterior painting can really help boost curb appeal and modernize a home all in the span of a weekend. The extra prep work really pays off in the end by making cleanup faster and creating a professional finish that will last for a long time. The husband and I loved how easy it was working with the EasyCare® Ultra Premium, and given the extreme hot weather we have, we love knowing our investment and hard work will last a long time.

Do you have any exterior painting projects planned for your home?