


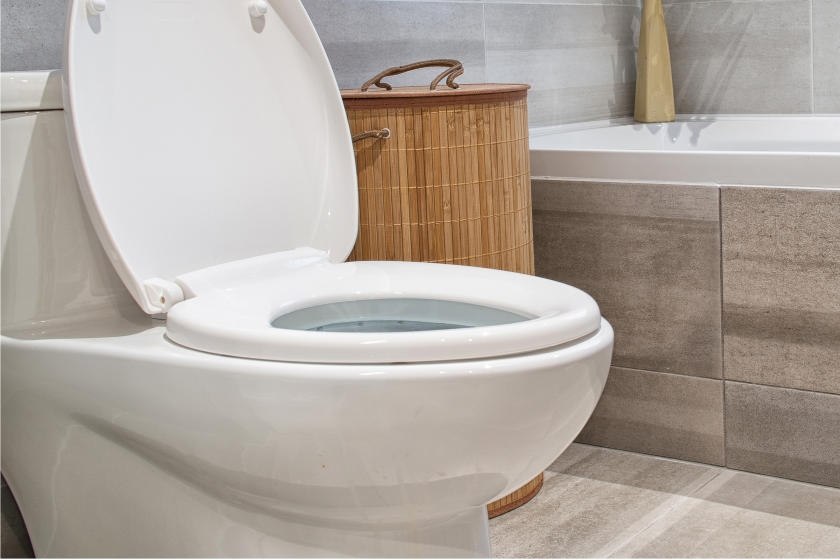
Is your toilet not functioning properly? Maybe it flushes poorly, runs continuously or leaks water? Fortunately, most problems are fixable. Best of all, you can repair them yourself.
Quick Fixes
Jiggling the handle might work for a while, but if your toilet is always running or doesn’t flush adequately, you need to perform these simple fixes that usually can tame a noisy, inefficient toilet.
Step 1: Check the Chain
The chain attached to the rubber flapper often becomes loose, causing incomplete flushing and/or continuous running. To fix it, remove links from the chain using needle-nosed pliers until it’s tight.
Step 2: Check Water Level
Improper water levels can also cause problems with your toilet. This can be fixed by adjusting the ball cock, which is located next to the overflow pipe; the open tube to the right of the handle. Adjust the ball cock so the water comes to1/2″ below the overflow pipe. If you think you may need to replace the ball cock, go to Replace the Ball Cock.
Step 3: Repair Parts
You can repair the ball cock by bending the float arm up or down to adjust the water level for the plunger-valve ball cock. Bending the arm up will raise the water level, bending it down lowers it.
If you have a float cup ball cock, you need to pinch the spring clip that is on the float cup. This enables you to move the float cup up and down by the pull rod.
HELPFUL TIP
If your toilet is leaking, check to see if the toilet has shifted. Shifting can crack the wax seal and allow water to seep out from underneath. To fix this problem, sit on the toilet and twist it back into position. If this doesn’t stop leakage, you may need to replace the wax ring.
Replacing the Toilet Ball Cock
If the chain or water level is fine but your toilet is still giving you problems, you may need to replace the ball cock. Replacing an old ball cock with a float cup will not only fix your toilet, it will make it more water efficient as well. The float cup variety is made of plastic, so you don’t have to replace it as often. A brass plunger-valve ball cock can warp and rust while the plastic of the float cup stays intact.
Step 1: Empty Toilet Tank
Shut off the water by turning the angle stop — the shut-off valve at the bottom of the toilet. Flush the toilet to empty the water in the tank. Soak up any remaining water with a mop or sponge.
Step 2: Undo Supply Tube and Remove Ball Cock
Using a wrench, disconnect the supply tube from the tank. The supply tube is the tube that runs from the angle stop to the tank. Take off the mounting nut and remove the ball cock.
Step 3: Install New Ball Cock
Place the new ball cock through the hole in the tank. Adjust it so that the lid fits on the toilet. Bend the refill tube so the tip fits into the overflow tube on the flush valve.
Step 4: Reattach Supply Tube
Attach the coupling nut on the underside of the tank with the wrench. If you don’t have any more repairs to make, you can reattach the supply tube to the tank.
Step 5: Open Angle Stop
Turn the water back on at the shut-off valve.
Step 6: Correct Water Level
Adjust the water so that it is 1/4″ below the top of the overflow tube. Adjust the ball cock by pinching the spring clip. This moves the float cup up and down. Move the float cup up to raise the water level and move the cup down to lower the water.
Replacing the Toilet Flush Valve
A continuously running toilet can also be the result of a faulty flush valve. Because the valve is made of rubber, it can decompose or warp allowing water to escape from the tank into the bowl. Here’s how to fix the problem.
Step 1: Empty Toilet Tank
Shut off the water by turning the angle stop, the shut-off valve at the bottom of the toilet. Flush the toilet to get rid of the water in the tank. Soak up any remaining water with a mop or sponge.
Step 2: Remove Supply Tube
Disconnect the supply tube from the tank using a wrench. This is the tube that runs from the tank to the angle stop.
Step 3: Remove Tank
Unbolt the tank from the bowl. It might be stuck on tightly, so grab the bolt with the wrench and use a screwdriver to unscrew the bolt. Lift the tank off the bowl and turn it over.
Step 4: Take Out Old Flush Valve
Take the spud washer off the pipe that sticks out of the bottom of the tank. Use a spud wrench or channel-type pliers and unscrew the spud nut. Remove the flush valve.
Step 5: Install New Flush Valve
Put the cone washer over the tailpiece so the beveled edge of the washer faces up toward the pipe. Turn the tank right side up. Put the flush valve into the hole in the tank so the little tailpiece sticks out the bottom. Position the valve so the overflow pipe is next to the ball cock.
Step 6: Install Spud Nut
Turn the tank over and use the spud wrench or channel-type pliers to tighten the spud nut onto the tailpiece. Put the spud washer over the spud nut. Turn the tank right side up.
Step 7: Reattach Tank
Place the tank onto the bowl making sure that the spud washer goes through the hole in the bowl. Bolt the tank to the bowl using the wrench and a screwdriver.
Be careful. Don’t over-tighten the bolts, or it can break the porcelain. The bolts should be snug, but not too tight.
Step 8: Put In Flapper and Attach Supply Tube
Attach the flapper to the overflow pipe inside the bowl. Then attach the lever chain from the flapper to the handle lever making sure the chain is taut. If there are no more repairs, reattach the supply tube to the tank and turn the water on.
That’s it! No more jiggling the handle of a troublesome toilet.