


Hi there! Kimberly from A Night Owl here, sharing a fun DIY for this holiday season that you can do with just a few supplies and cans of spray paint, a Painted Steel Pail Christmas Tree!
Now I’m a BIG fan of paint. It’s amazing how you can transform the boring into beautiful with just a little time and a can of fresh paint. And one of the things I love the most about spray paint is that transformation can be quick and effortless! For this easy DIY holiday project, I snagged some steel utility pails and some spray paint and got to work! This is a simple and cute holiday decoration that is great for the garden or front porch. Let’s go through the steps!
What you’ll need:
- Galvanized Steel Utility Pails in varying sizes
- Tree topper
- Premium Decor Gray Spray Primer
- Premium Decor Army Green Satin Spray Paint
- Premium Decor Copper Enamel Spray Paint
- Gorilla Glue

Spray paint is so fun to use, but there are a few tips and tricks you should be aware of. First, be sure to shake it up! Give your cans a good 1-minute shake before you use them and continue to shake during your project. This ensures the paint and chemicals are mixed appropriately for the best result for your project.

Next, prime your project! No matter what the project is or the starting finish, I always like to prime the project before spraying with color. This ensures an even finish, less paint used overall and I always think the colors pop more if we primed first! So with our Christmas Tree project, I started with a layer of gray primer.

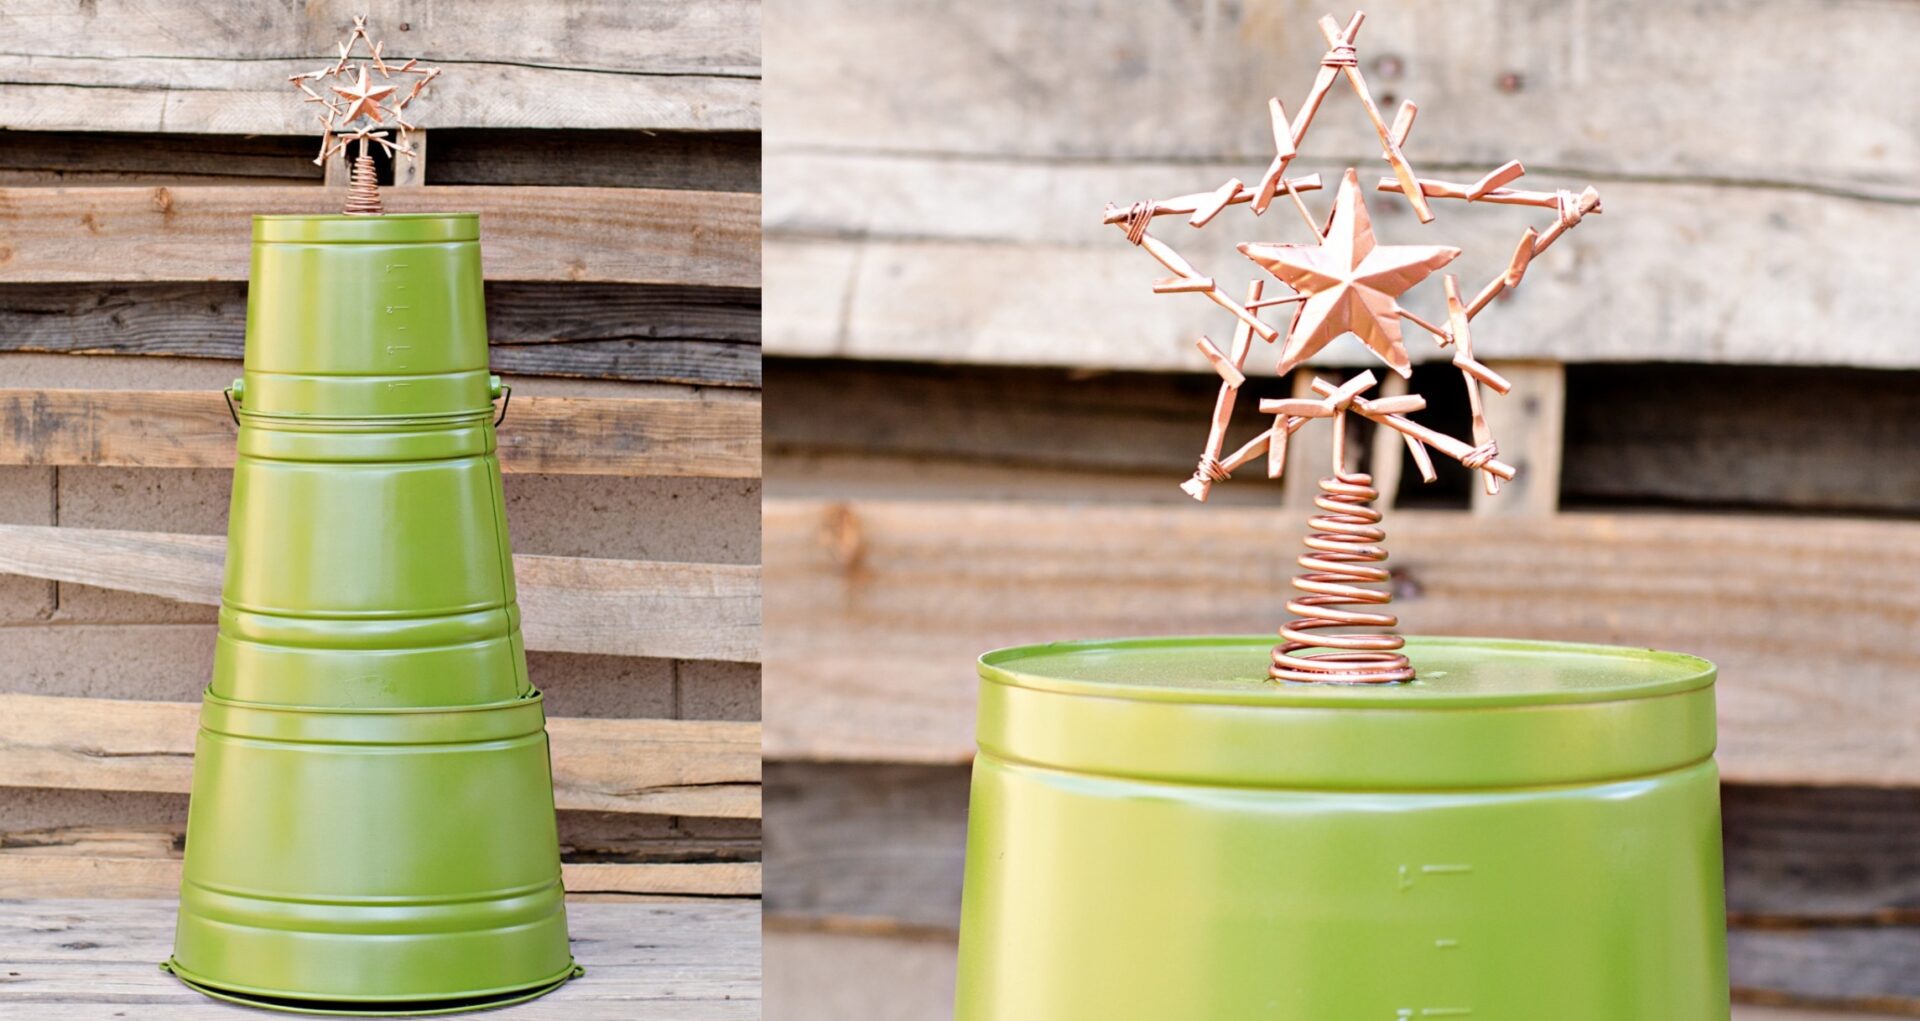
While the primed pails were drying, I sprayed the little star topper I found for our painted pail tree with a bright copper enamel spray. I thought this color would really pop against our army green for the tree.

Once the primer was dry, the pails were ready for their Christmas tree green! I chose a satin army green and loved the results. Again I shook the can for a good minute before getting started. And you may have heard it before, but the key to great coverage with spray paint is light, even layers! Hold your can about 8 inches from your surface when spraying and cover small sections with light layers at a time. This will help you ensure that there is no build up resulting in unsightly drips, which can be common for spray paint projects.
Once you have achieved the coverage you’re looking for, let your painted steel pails dry. A good 24-48 hours is best to allow the spray paint to cure. Once you’re there, it’s time to stack your pails. I used a little Gorilla Glue to adhere the tree topper to our smallest pail, but the rest of the pails I didn’t glue together, just balanced and stacked them. This will make it easy to store and use this cute little holiday decoration for years to come.


Now you’ll see this adorable Painted Steel Pail Christmas Tree on our front porch this holiday season!